
Kendo UI: Implementing a Grid Widget
5.00/5 (3 votes)
Learn how to implement Kendo Grid.
Introduction
As of now, we have learned a lot about Kendo UI web widgets and now it's time to learn some actual implementation, here I have chosen Grid as it is the most complex widget available. We will implement a full featured grid with some local data bounded to it by Kendo UI data source, it will also have sorting, filtering, paging and grouping. So we will start with an empty HTML page.
<!DOCTYPE html>
<html>
 <head>
 <meta charset="utf-8">
 <TITLE>Implementing Kendo Grid</TITLE>

<link href="content/kendo.common.min.css" rel="stylesheet" type="text/css" />
 <link href="content/kendo.default.min.css" rel="stylesheet" type="text/css" />

<script type="text/javascript" src="scripts/jquery.min.js"></script>
 <script type="text/javascript" src="scripts/kendo.web.min.js"></script>
 </head>
 <body>

 </body>
</html>
The above code is the simple HTML5 page with all the references to the Kendo scripts and stylesheets, Kendo scripts and styles are placed in the scripts and contents directory of my web project. To start, we have some HTML markup and a script which will initialize this markup as Kendo Grid.
<div id="colleges"></div>Now we will create a script tag with document ready function, which will also define
the local array of JavaScript objects to populate the Kendo Grid. We have created an array named colleges that contains JavaScript objects that contains colleges
Establishment year, Location and Name.
<script type="text/javascript">

$(document).ready(function() {

 var colleges = [
 {year: 1996, location: "Mathura",
 name: "Hindustan College of Science and Technology"},
 {year: 1998, location: "Agra",
 name: "Anand Engineering College"},
 {year: 1999, location: "Agra",
 name: "Hindustan Institute of Technology and Management"},
 {year: 2002, location: "Barabanki",
 name: "Sagar Institute of Technology and Management"},
 {year: 2001, location: "Lucknow",
 name: "Saroj Institute of Technology and Management"},
 {year: 1991, location: "Mathura",
 name: "GLA University"},
 {year: 1921, location: "Kanpur",
 name: "Harcourt Butler Technological Institute"},
 {year: 1984, location: "Lucknow",
 name: "Institute of Engineering and Technology"}
 ];

 });

</script>
Now we have defined our data so we need to create the Kendo UI data source to which my grid will be bound to:
var collegesDataSource = new kendo.data.DataSource({data: colleges});
collegesDataSource.read();
If you recall my
previous post, you might recall the process of data binding
by passing the JASON-formatted string in the kendo DataSource function. Now we have DataSource but we need to bind it to show up something,
we will do this by using a jQuery selector to select my element colleges and assign the KendoGrid widget to it and assign the collegesDataSource to it:
$("#colleges").kendoGrid({
 dataSource: collegesDataSource
 });
So enough of code. Now let's see what is the output.
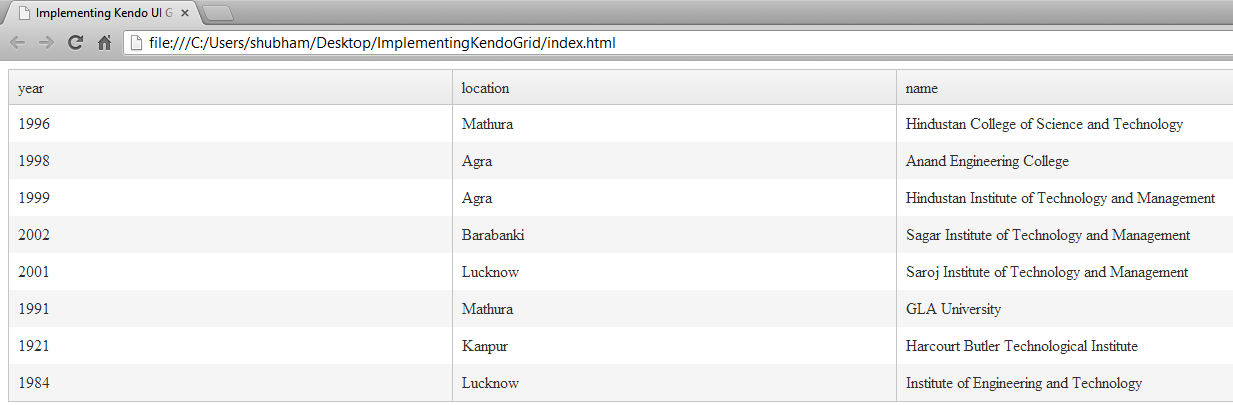
Custom Title
You can see it pulls up a simple grid with no much functions. First thing we will do is change the title of the column, by default the title is the name of the attribute defined in the data source that is why they are in lowercase, we can do that by re-configuring the columns:
$("#colleges").kendoGrid({
 dataSource: collegesDataSource,
 columns: [
 {field: "year", title: "Establishment Year"},
 {field: "location", title: "Location"},
 {field: "name", title: "Name of College"}
 ]
 })
Now you can see the change in the title of the columns:

Paging
Next thing I want to do is insert paging which makes the grid look better, in order to introduce paging in Kendo Grid we need to do two things: first thing to do is turn off scrolling and turn on paging, we will do this with the help of scrollable and pageable property and lastly we need to configure the page size which is done in the data source:
var collegesDataSource = new kendo.data.DataSource({data: colleges, pageSize:3});
 collegesDataSource.read();

$("#colleges").kendoGrid({
 dataSource: collegesDataSource,
 columns: [
 {field: "year", title: "Establishment Year"},
 {field: "location", title: "Location"},
 {field: "name", title: "Name of College"}
 ],
 scrollable: false,
 pageable: true
 })
Let's have a look at the output now:

Sorting, Grouping, Filtering
Next, we will add sorting, grouping and filtering feature to our grid, which can simply be done by setting the sortable, groupable and filterable property to true.
$("#colleges").kendoGrid({
 dataSource: collegesDataSource,
 columns: [
 {field: "year", title: "Establishment Year"},
 {field: "location", title: "Location"},
 {field: "name", title: "Name of College"}
 ],
 scrollable: false,
 pageable: true,
 sortable: true,
 groupable: true,
 filterable: true
 })
You can also introduce default sorting, the default sort order is added in the data source, we set the sort field and the direction to which it is to be sorted,
in this case it is ‘year’ and ‘ascending’:
var collegesDataSource = new kendo.data.DataSource({data: colleges, pageSize:3,

sort:{field: "year", dir: "asc"}});
Editing
We can also add editing feature to our grid, for doing this we will first setup the editable property,
for this we have various options – ‘inline’ , ‘popup’ and next we need to add command column:
$("#colleges").kendoGrid({
 dataSource: collegesDataSource,
 columns: [
 {field: "year", title: "Establishment Year"},
 {field: "location", title: "Location"},
 {field: "name", title: "Name of College"},
 {command: ["edit", "destroy"]}
 ],
 scrollable: false,
 pageable: true,
 sortable: true,
 groupable: true,
 filterable: true,
 editable: "inline"
 })
That's it, we created a fully functional Grid with various features.

Download the source code of ImplementingKendoGrid and see it in action.