
Advanced WPF TreeView with Multi-Level Binding (Code Behind - No XAML!)
5.00/5 (2 votes)
Demonstrate how to create WPF TrewView with multiple levels of HierarchicalDataTemplate from C# code-behind without XAML using MVVM for data binding
Introduction
To create UI with WPF, you should generally go with XAML almost all the time. However, the purpose of this article is to show there is a code-behind way of creating UI in WPF without XAML. It can be flexible and powerful when it comes to dynamic UI creation and removal of difficult XAML binding.
The code-behind approach is a kind of advanced concept. Even if you may never need to use it, understanding it will help you better appreciate how WPF works. Charles Petzold wrote a great WPF book using lots of code-behind.
Still intrigued? Let’s continue.
Background
There are WPF TreeView samples on the web, but they are mostly XAML-based. For example:
I use TreeView + HierarchicalDataTemplate with multi-level binding because it is one of the least understood XAML binding topics. I do not discuss MVVM here since tons of information can be found on the web. Obviously, this article aims at intermediate and advanced WPF users.
Using the Code
When launched, the app looks as follows. It is a 4-level TreeView with root node at level 0. Each level node has its own HierarchicalDataTemplate.


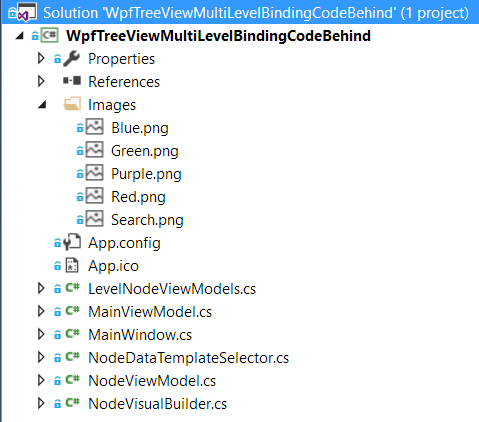
Note that there are no .xaml files in the project solution:

Each level node has a ViewModel for data binding. For example, C# class Level2NodeViewModel is used for data-binding level 2 node with: arrow-image + text + search-image + hyperlink


The above elements are wrapped inside a StackPanel created programmatically:
private FrameworkElementFactory BuildLevel2NodeVisual()
{
    var stackPanelFactory = CreateStackPanelFactory(Orientation.Horizontal, new Thickness(4, 4, 5, 2));
    AppendImageBinding(stackPanelFactory, "NodeImagePath");
    AppendTextBlockBinding(stackPanelFactory, "Name");
    // Bind SearchImagePath with Level2NodeViewModel
    AppendImageBinding(stackPanelFactory, "SearchImagePath", new Thickness(10, 0, 0, 0));
    AppendHyperlinkBinding(stackPanelFactory, "Search with Amazon.com", Colors.MediumOrchid,
                            "AmazonSearchCommand", "AmazonSearchUrl", new Thickness(5, 0, 0, 0));
    return stackPanelFactory;
}
The following function determines how to create a 'node visual' HierarchicalDataTemplate for any level:
private HierarchicalDataTemplate BuildLevelNodeDataTemplate(int level = int.MaxValue)
{
    FrameworkElementFactory levelNodeElementFactory;
    switch (level)
    {
        case 0: levelNodeElementFactory = BuildRootNodeVisual(); break;
        case 1: levelNodeElementFactory = BuildLevel1NodeVisual(); break;
        case 2: levelNodeElementFactory = BuildLevel2NodeVisual(); break;
        case 3: levelNodeElementFactory = BuildLevel3NodeVisual(); break;
        default: levelNodeElementFactory = BuildLevelNodeBasicVisual(); break;
    }

    var levelNodeDataTemplate = new HierarchicalDataTemplate
    {
        ItemsSource = new Binding("ChildNodes"),
        VisualTree = levelNodeElementFactory
    };
    return levelNodeDataTemplate;
}
At runtime, the trick is to dynamically select a right ViewModel for its level node:
public class NodeDataTemplateSelector : DataTemplateSelector
{
    ....

    public override DataTemplate SelectTemplate(object item, DependencyObject container)
    {
        DataTemplate dataTemplate;
        if (item == null)
            dataTemplate = base.SelectTemplate(null, container);
        else if (item is RootNodeViewModel)
            dataTemplate = LevelNodeDateTemplateOrDefault(0);
        else if (item is Level1NodeViewModel)
            dataTemplate = LevelNodeDateTemplateOrDefault(1);
        else if (item is Level2NodeViewModel)
            dataTemplate = LevelNodeDateTemplateOrDefault(2);
        else if (item is Level3NodeViewModel)
            dataTemplate = LevelNodeDateTemplateOrDefault(3);
        else
            dataTemplate = _defaultLevelNodeDataTemplate;
        return dataTemplate;
    }
}
Conclusion
I used Visual Studio 2015 and C# 6.0 syntax. If you compile the app with pre-VS2015, you will have to fix C# 6.0 syntax errors. It's easy to do and there is information on the web.