
Unity on Azure PlayFab Part 4: Setting Up a Multiplayer Server (Part 2)
5.00/5 (1 vote)
In this article, we integrate the PlayFab GSDK to be ready for cloud hosting, and then upload and deploy it to PlayFab through the dashboard.
In this article, we’ll learn to set up a Unity game project as a backend server for use with PlayFab Multiplayer Services. It will be hosted on the cloud and scaled to meet player demand.
Here, we’ll add the PlayFab Game Server SDK (GSDK) to our Unity game project, add script code to start and handle server events such as the server activation, and then build the project as a GUI-free server-only executable.

In this article, we’ll take the code from our Unity game project from the previous article and integrate it with PlayFab to deploy to their servers on the cloud.
Requirements
To follow this tutorial, you’ll need a PlayFab account and the following software:
- Unity Game Engine
- Microsoft Visual Studio
- The Unity game project from the previous article
Mission Briefing
Previously, we turned our game into a multiplayer experience, but the server process ran locally on our own computer. This time, we’ll add the GSDK and update the project to run on PlayFab’s cloud so that it can scale to millions of players if we wish.
Adding the PlayFab GSDK to Unity
The Unity GSDK is PlayFab’s Game Server SDK that enables us to turn a Unity Game project into a multiplayer serve. It runs on PlayFab’s scalable cloud instances and to which each player’s game instance can connect.
First, we download the GSDK repository. Then, we extract the files and open the UnityGsdk/Assets/PlayFabSdk folder in File Explorer.

To import the GSDK into the game, we drag and drop the MultiplayerAgent folder into the Unity project’s Assets/PlayFabSDK folder to add the agent code scripts.
We also must enable the PlayFab server functionality in the build by adding it to the settings.
So, we open File > Build Settings and click Player Settings on the bottom left of the window, then we add ENABLE_PLAYFABSERVER_API as a new Scripting Define Symbol and click Apply.

Updating the Server Script
We can now close the pop-up windows and update our server script with PlayFab events so that PlayFab’s virtual machines (VMs) can manage it.
To begin, we find and open the IntroMenu scene in Assets/FPS/Scenes where the server script is and enable the script, but this time, we turn off the RunLocal flag.
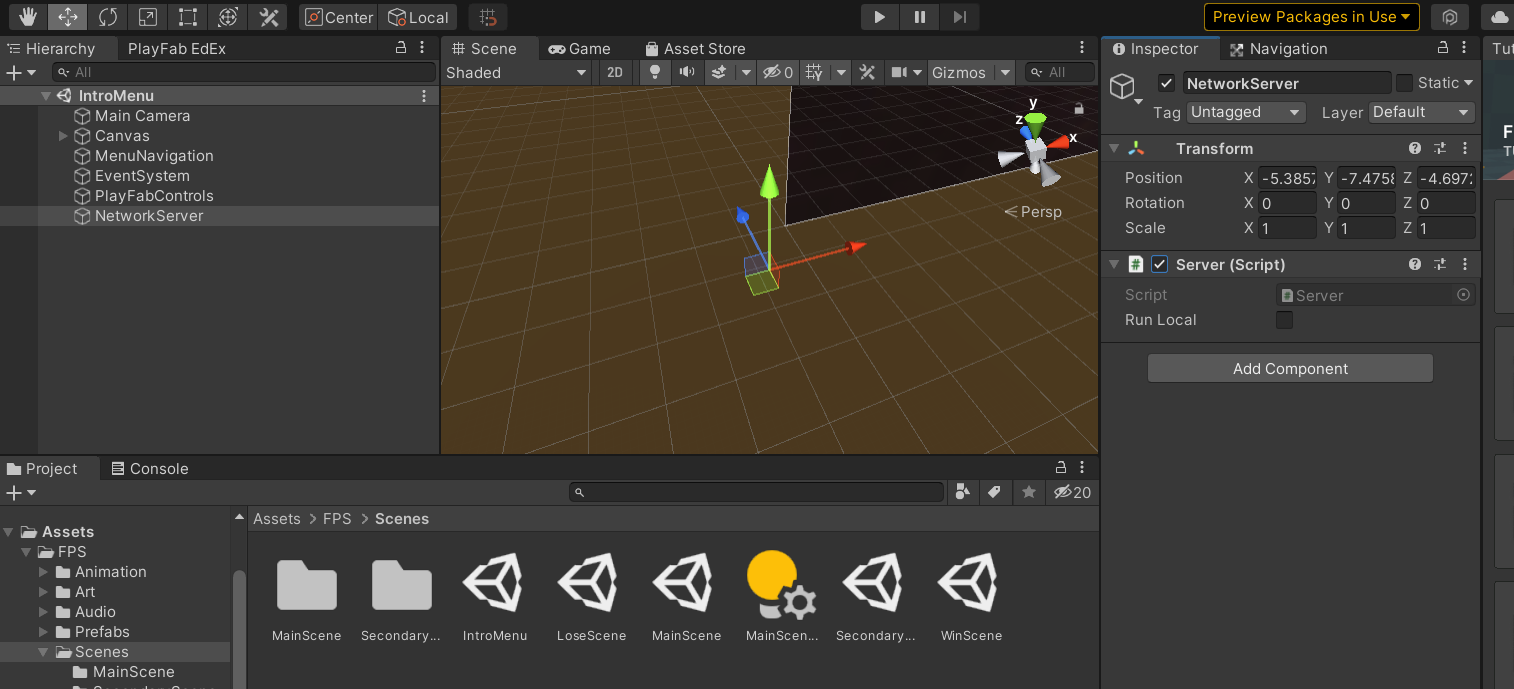
From the file menu, we select Assets > Open C# Project to open the project code with full references to dependencies and then double-click the Server script to open the file. We will add multiple event handlers for the PlayFab server events based on the PlayFab multiplayer server agent sample code.
We add the PlayFab namespace to the using statements at the top:
using PlayFab;
Then we paste the following PlayFab event handlers into the script:
IEnumerator ReadyForPlayers()
{
    yield return new WaitForSeconds( .5f );
    PlayFabMultiplayerAgentAPI.ReadyForPlayers();
}


private void OnServerActive()
{
    StartServer();
}


private void OnAgentError( string error )
{
    Debug.Log( error );
}


private void OnShutdown()
{
    Debug.Log( "Server is shutting down" );
    networkDriver.Dispose();
    connections.Dispose();
    StartCoroutine( Shutdown() );
}


IEnumerator Shutdown()
{
    yield return new WaitForSeconds( 5f );
    Application.Quit();
}


private void OnMaintenance( DateTime? NextScheduledMaintenanceUtc )
{
    Debug.LogFormat( "Maintenance scheduled for: {0}", NextScheduledMaintenanceUtc.Value.ToLongDateString() );
}
Then we create a method to set up all PlayFab events.
void StartPlayFabAPI()
{
    PlayFabMultiplayerAgentAPI.Start();
    PlayFabMultiplayerAgentAPI.OnMaintenanceCallback += OnMaintenance;
    PlayFabMultiplayerAgentAPI.OnShutDownCallback += OnShutdown;
    PlayFabMultiplayerAgentAPI.OnServerActiveCallback += OnServerActive;
    PlayFabMultiplayerAgentAPI.OnAgentErrorCallback += OnAgentError;


    StartCoroutine( ReadyForPlayers() );
}
Now, inside the StartServer method, we must make some modifications. We need to use the port number assigned to the process by PlayFab. So, where we set the port to 7777, we change it to the following code:
endpoint.Port = 7777;
var connectionInfo = PlayFabMultiplayerAgentAPI.GetGameServerConnectionInfo();
if( connectionInfo != null )
{
    // Set the server to the first available port
    foreach( var port in connectionInfo.GamePortsConfiguration )
    {
        endpoint.Port = (ushort)port.ServerListeningPort;
        break;
    }
}
Where we had a TODO comment inside Start for when RunLocal is disabled, so we need to call StartPlayFabAPI:
void Start()
{
    if( RunLocal )
    {
        StartServer(); // Run the server locally
    }
    else
    {
        StartPlayFabAPI();
    }
}
Lastly, when a game session ends in a PlayFab server, the process must close itself to signal to PlayFab that the server can be shut down and recycled. We do this by detecting when all players have disconnected in the Update method. We modify the disconnect event code snippet to the following inside the method:
else if( cmd == NetworkEvent.Type.Disconnect )
{
    Debug.Log( "Client disconnected from server" );
    connections[ i ] = default( NetworkConnection );
    numPlayers--;
    if( numPlayers == 0 )
    {
        // All players are gone, shutdown
        OnShutdown();
    }
}
The full server script code can be found on GitHub here.
Deploying a PlayFab Package
Now, it’s time to build and package the server executable to deploy it to PlayFab.
Make sure the server script is enabled in the IntroMenu scene without the RunLocal flag and save the build to a separate folder from File > Build Settings. Then select everything and compress it into a zip file.


We need to keep in mind that this executable won’t run locally because it expects configuration values from within PlayFab’s virtual machines.
Next, we log in to the PlayFab Dashboard and open the Build > Multiplayer tab to create a multiplayer server build. We may need to enable multiplayer servers if we haven’t already. We also may need to add credit card information before we can access the monthly free core hours.


Once enabled, you can click New Build and specify details for the server build.

Choose any name you want and select these options for the build:
- Virtual Machine: 2 cores
- Servers per machine: 1
- Server type: Process
- Operating System: Windows
- Start command: PlayFabDemo.exe (or the name of your project’s executable if it’s different)
- Regions: East US
- Standby servers: 1
- Max servers: 1
- Network Name: Game Port
- Network Protocol: UDP


The Standby and Max settings determine how many VMs are available for our players to join and play online sessions. Once it reaches the maximum, players won’t be able to join any new online sessions until one of the existing sessions finishes and recycles the server. So for released games, we want to increase this number to match player demand.

Updating the Client for PlayFab
Before we dive into the Client script code, we need to enable an API setting for testing purposes. We click the gear icon on the Dashboard, go to Title settings and navigate to the API Features tab. Then we select the Allow client to start games checkbox and click Save. This flag is just for testing purposes and shouldn’t be enabled for publicly launched games.


Now we go back to the Unity Editor, turn off the Server script in the IntroMenu scene, and turn on the Client script in the MainScene. Then we open the Client script by double-clicking on it.
We add two more statements to the using statements at the top:
using PlayFab.MultiplayerModels;
using PlayFab;
Let’s add some methods that will allow us to request a PlayFab server for a build. We must ensure we copy the generated Build ID GUID from the dashboard to replace within the function because this ID must match for the request to succeed.
private void RequestMultiplayerServer()
{
    RequestMultiplayerServerRequest requestData = new RequestMultiplayerServerRequest();
    requestData.BuildId = "b461ecbc-12fc-4758-bd27-f3bbd84badeb"; // Build ID from the Multiplayer Dashboard
    requestData.PreferredRegions = new List<string>() { "EastUs" };
    requestData.SessionId = System.Guid.NewGuid().ToString(); // Generate a Session ID
    PlayFabMultiplayerAPI.RequestMultiplayerServer( requestData, OnRequestMultiplayerServer, OnRequestMultiplayerServerError );
}

private void OnRequestMultiplayerServer( RequestMultiplayerServerResponse response )
{
    connectToServer( response.IPV4Address, (ushort)response.Ports[ 0 ].Num );
}


private void OnRequestMultiplayerServerError( PlayFabError error )
{
    Debug.Log( error.ErrorMessage );
}
The last step is to call the RequestMultiplayerServer method inside the Start method as follows:
void Start()
{
    Debug.Log( "Starting Client" );
    if( RunLocal )
    {
        connectToServer( "127.0.0.1", 7777 );
    }
    else
    {
        RequestMultiplayerServer();
    }
}
You can find the full code for the client here.
Finally, we can build and open the game client to connect to a PlayFab server or in the Unity Editor, load the IntroMenu, and run it. This is because the server request must have a login to work. We can see in the Dashboard when the client connects because a game session will be Active.

Once all clients close the game and disconnect, the session is complete and the server shuts down and recycles on its own in PlayFab.

Next Steps
In this article, we learned how to import the PlayFab Game Server SDK into a Unity project and lay the foundations for multiplayer server code, and then how to build the project into a server-only "headless" executable that is ready for PlayFab. We successfully requested and connected to the server hosted on PlayFab from our game client.
In the next article, we integrate PlayFab’s Matchmaking feature into the game so that players can automatically match with each other to join on the same server and play together.
To learn more about Azure PlayFab Analytics, and get overviews of features, quickstart guides, and tutorials, check out Azure PlayFab Analytics documentation.