
SSIS - Import Text File
5.00/5 (1 vote)
SQL Server Integration Services - How to read a text file
Introduction
SQL Server Integration Services (SSIS) is a tool that we use to perform ETL operations; i.e., extract, transform and load data.
In this tip, we will see how to import a text file information to SQL Server by using SSIS package.
Let's Get Started
Step 1: Start the SQL Server Business Intelligence Development Studio
Step 2: Go to File -> New -> Project
Step 3: Select the Project Type as Business Intelligence Projects, Template as Integration Services Project and give the Project Name.

Step 4: Created empty project will look like this:
![]()
Step 5: Drag a Data Flow Task from tool box to Control Flow Tab.

Step 6: Double click on Data Flow Task in Control Flow Tab will go to Data Flow Tab.
Step 7: Place a Flat File Source from the tool box, then right click and select edit.

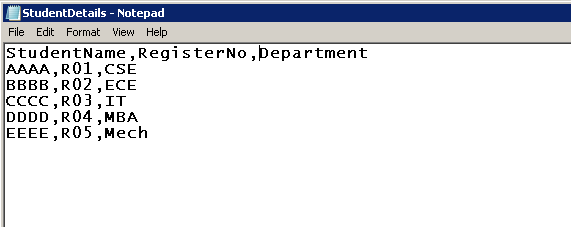
Step 8: Let's create a sample text file to read.
Step 9: Now is the time to create a connection manager to read the text file. From the Flat File Source Editor, select Connection Manager and click New Button.
- In the connection manager name field specify a name
- Description field is an optional one. We can specify the details.
- File Name field is used to locate the file to be read by the SSIS. We can select the File using Browse Button.
- Locale field automatically filled according to your system language.
- Code Page field is also automatically filled by system.
- In the Format field, we need to specify the format. In our case, we are going to use the Delimited
- Leave the Text Qualifier field as it is.
- Header row delimiter field is used to specify the row separation. In our case, row separation is {CR}{LF}
- Header rows to skip field is used to mention the number of header rows to skip
- If we select the Column names in the first data row text box, automatically our text file header will be taken, else we need to specify the column names.

Step 10: Now go to the columns tab in the Flat File Source Editor.
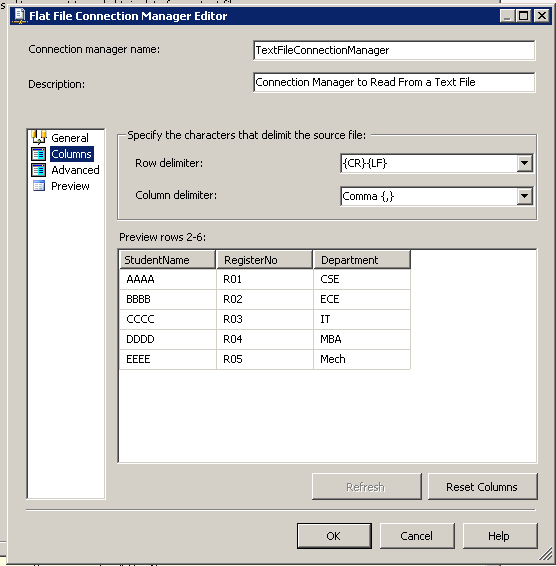
As per our earlier configurations, row delimiter by {CR}{LF}, column delimiter by {,} and Column names in the first data row, our sample file will look like the above shown format.
The Advanced tab is used to edit the Column names, and the Preview tab is used to view the file.
Step 11: Place an ADO NET Destination from the tool box to Data Flow task and give the input to ADO NET Destination from the Flat File Source.

Step 12: Now right click connection manager area and select New ADO.NET Connection. In the Configure ADO.NET Connection Manager, select New. In Connection Manager window, select the server name, SQL Server authentication type and select the database name. Verify the test connection.

Step 13: Now right click the ADO NET Destination and select edit. ADO NET Destination Editor will automatically choose the ADO NET Connection manager.

Now select the sql table name to sort the data.
Step 14: Then go to mappings.

It will automatically show the Available Input Columns and Available Destination Columns. Now we need to map the destination field with available input field.
Step 15: Save the project and start debugging. If we don't encounter any error in the project, the result will be green color. If we have any issue, the result will indicate in red color.
Successful Execution

Error Execution

We can view the execution result by viewing progress tab:

Summary
Hopefully, this tip has given you sufficient information to start creating your own SSIS package applications to read text files.
In the next post, we can see how to deploy the SSIS Package in Server Environment.