
Microsoft Azure Automation Services
5.00/5 (2 votes)
In this post, we will see how to create an automation account in Azure and work on a simple demo.
Introduction
In this post, we will see account creation of Azure Automation. It simplifies the automation process by using cloud management. Some features are it saves time and money, it eliminates the time consuming process, it is highly efficient and reliable, mostly we will be using these in Azure and in cloud process.
Background
The following are the steps followed to create an Azure automation.
Step 1
Login in to Azure Management Portal by clicking the link.
Step 2
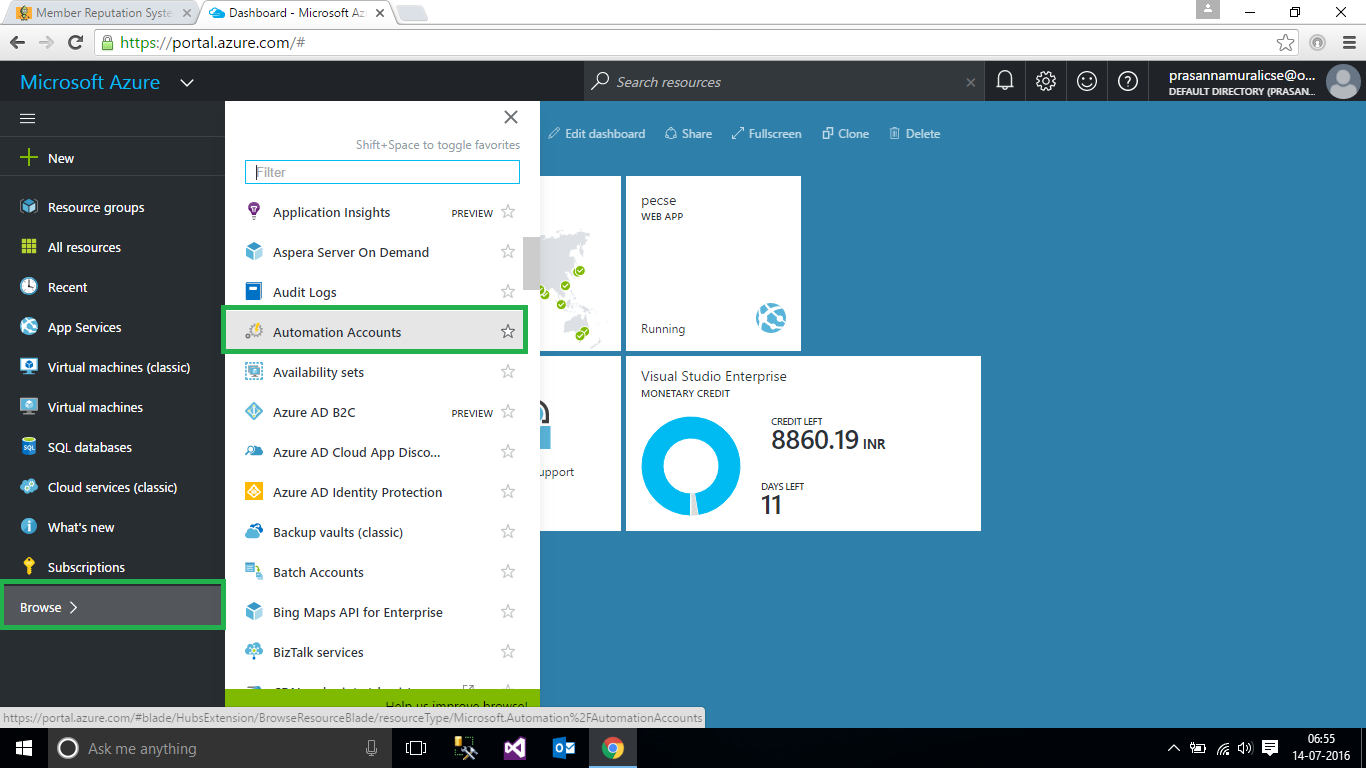
Once you log in to your Azure dashboard, click browse option from the side blade and select Automation Account as given below:
Step 3
In the automation account blade, click add button as shown below:

Step 4
In Add automation account blade, give the required credits such as Name, Subscription, Resource group, Location and click create button.

Step 5
It takes some time and finally the settings for PrasannaAutomation appears as shown below.
In the Automation, we will be able to see services such as:
- Run books
- Jobs
- Hybrid Worker Groups
- Assets
- DSC configurations
- DSC Node configurations
Step 6
Now click Run books, then the run book Blade appears. In that, click Add a new run book as shown in the below screenshots.

Step 7
In the Add Runbook blade, click create a new runbook as shown below.


Step 8
In the Add run book wizard, add the credits such as Name, Runbook type and give description if needed and click create button.
Runbook types are given below:
- Powershell
- Graphical
- others
Step 9
After runbook creation, it directly opens the edit view of created run book.

In that, add the following code as:
Using the Code
Code in powershell is given below:
write-output "Welcome to code project dot com"
Step 10
After the completion of the coding, click save button. Once it is saved, click publish button.

Step 11
From the created run book, click your run book and the run book is opened, in that click start button.

Finally, run book is queued in that click output it takes some time. Finally, the output is displayed as given below.

Result
Here in these automation services, we will be able to schedule the n number of tasks each gets activated when executing job completed. In the above example, the output is given below.
