
Creating New Application and Service Principal to Access Resource in Azure
0/5 (0 vote)
Accessing resources and creating and updating the resources in the Azure resource groups
Introduction
This tip will explain the steps you need to take if you want to write an application or a process which will need to access the Azure resource groups and resources inside it. I will show you how to do it both through powershell (next post) and in this tip through the Azure Portal.
Using any method, either through portal or powershell, the steps will be the same. In general, following are the steps needed:
- Create an application reference inside the Active Directory of Azure
- Create a service principal for this application
- Grant permission for this service principal
Creating AD Application and Service Principal Through Portal
As mentioned above, we need to do the three steps using the portal. Following are the steps to take:
- Loging to the old Azure portal
- Go to the active directory and then click applications
- Create new application

- Select Web Application
- Put in a sign in url for a website which contains some information about your application. (The urls are not validated and hence we can proceed further without thinking much about it).
Now we need to generate the authentication for this application. We will use the same application id as the principal name and will generate a password for this and assign a role for this application. - Once the application is created, it will be available in the applications section of the active directory:

- Click and select your application and then click the congifure link. Please note down the
ClientIDas you scroll down the configure page. ThisClientIDis your service principal. Now you need to generate the password for this client ID.
- Inside the application selection page, you need to click the configure option and scroll down to the keys section. Click the 1 year drop down. The keys will be generated once you save these settings.

The keys generated above is your Password which you need to connect your application to Azure settings.
- Switch to the new portal. If you want to give access to a specific resource group, then navigate to the resource group and then access. If you want to give access to everything, then navigate to the subscriptions page and then click access.
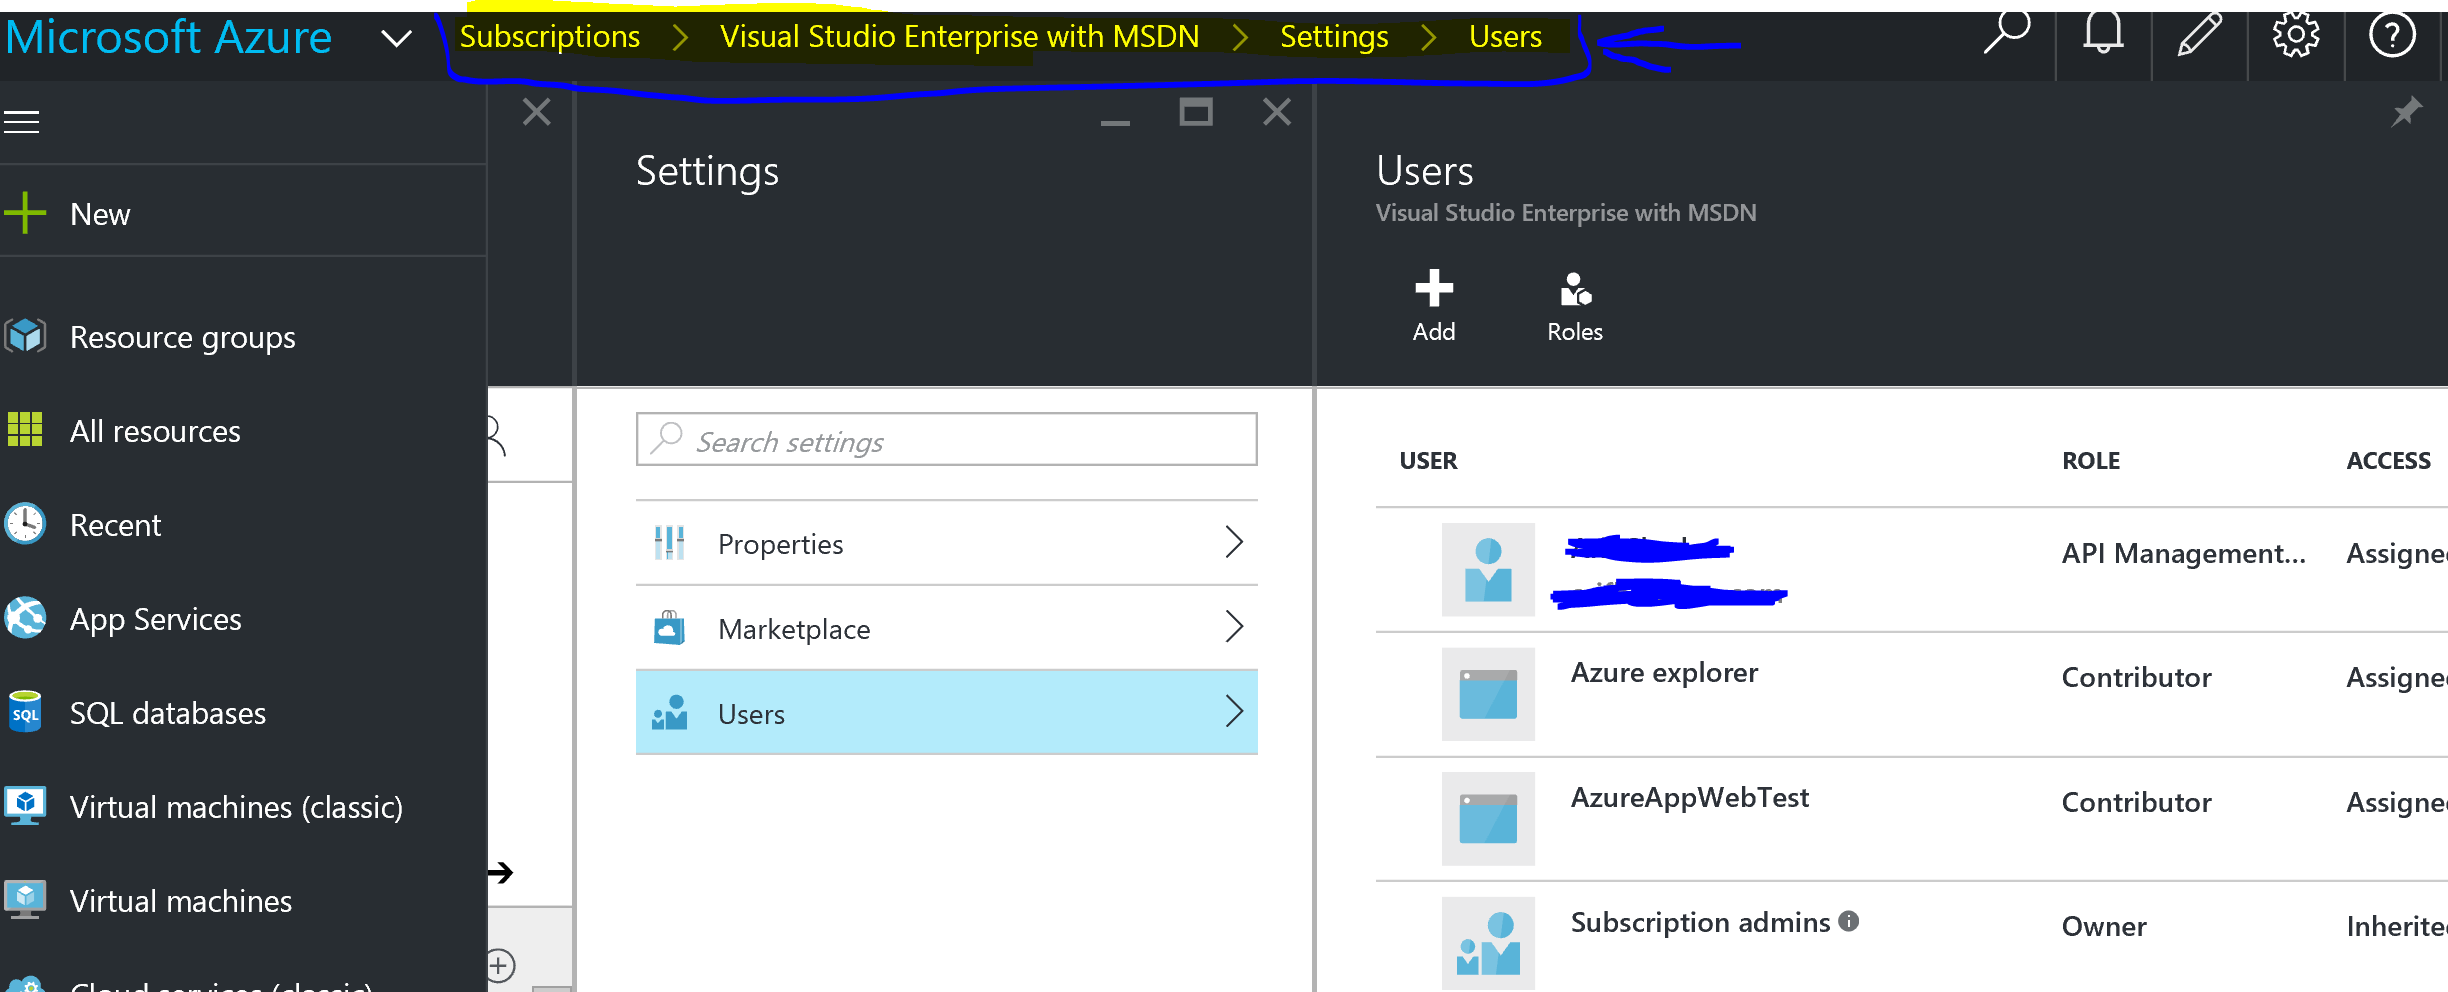
- Click add new and give the appropriate access level, i.e., reader or contributor and then select your application from the user search. Your application will not be listed among the users so you have to manually type your application name in the search to select it.

- Click ok to assign your application to this role and you should now see your application in the list of assigned users.
This concludes this guide on how to make your application authenticate to access Azure resources.