
Data Binding To Grid View Controls
3.95/5 (6 votes)
How to create Data Binding?
Introduction
Data Binding
Data Binding is the process of taking some data and associating it to visual elements on user interface(UI).
Overview of Data Binding
We will take any object and with their properties and present each instance of object in collection on screen to user in “Grid “like fashion. We get to create a little template of how each individual instance of object is represented in the user interface. The “ListView” is also the same but it works in single column fashion.
Create the Project in Visual Studio 2015
In order to perform data binding, you need to create a project in your Visual Studio 2015, the steps are simple.
- Select “Universal” as shown by the arrow.
- Select “Blank App” as shown in the circle.
- Name your solution , for instance “
BindDataExample“.

Designer Window
A designer window will be open once you create the project with name ”MainPage.xaml“. In this window, there is a designer surface and you can also write your XAML code … now for instance, we select our object a “Book” and in order to perform data binding, simply create a user interface in XAML, the code is shown in the image in the rectangle.

Create Data Model
- Go to “Solution Explorer” shown by the circle.
- Right click the “BindDataExample” shown by the arrow.
- Add new folder, name it “Models”, shown by the circle.

Create C# class in Models Folder
- Go to Models folder.
- Right click and select add new item.
- Select Class, name it “Book.cs“.

Book Class with Properties
Once you perform all the above mentioned tasks, there will be a C# class open for us and our object which in this case is a book, we can create its class and define its properties in that very C# class we have.
- Create a class “Book“.
- Define its properties.
- Copy the C# code in a red rectangular box.

Creating New Instances & Add in Collection
After you created your Book class and set its properties, now it's time to create instances of your class and populate it into a collection, list of book, we will generate another class, name as “BookManager” in the same file, for this purpose. And then return the list to caller. The code will help you out.

Add Grid View, Bind to Data from BookManager Class
Our next step after we create the instances and store them in collection is to bind the data in Grid view from that very class, for this, we will return to our “MainPage.xaml” and create there a template how each individual item will appear on the screen. The template code is in the red box.

Add XAML namespace
In order to reference the class in XAML, we need to reference its namespace in XAML… here you go, shown by red arrow.

Create Public Property in MainPage.xaml.cs
After we create the template, our next step will be to create a public property in “mainpage.xaml.cs“ and populate it with Books.
- Add
publicproperty, as shown in circular region. - Make sure you add a namespace if it is not there, as shown by the arrow.
- Initialize it with “
Books=BookManager.GetBooks();”, this will return list of books.

Run your application.
After completion of all steps, run your application and the final result will be shown something like this: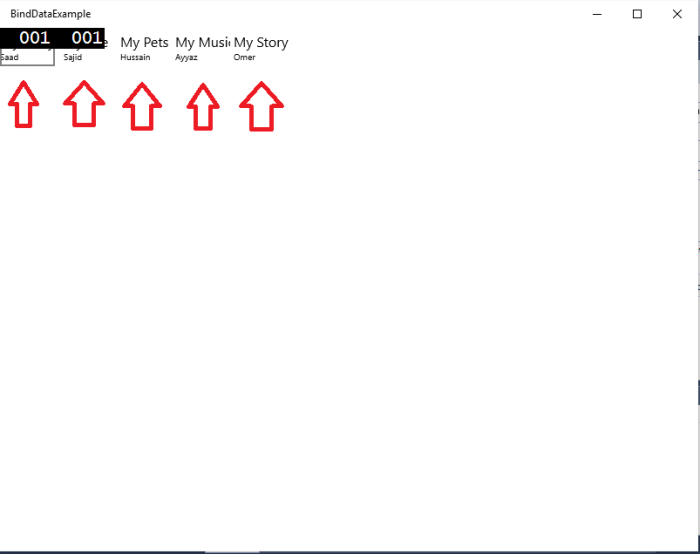
Working on Alignment
You can change the alignment and margin again, here is the simple step to do so.

Overview
In a nutshell, the alignment will make display much better.
