
Create "Sign Up Page" in Blend 2015
3.80/5 (3 votes)
Create "Sign Up Page" using Toolbar and Navigation feature
Introduction
Hopefully, you have set your IDE for Windows Universal Platform and also created a “Hello World” project, now it's time to create a simple “Login/Registration Page” on Blend 2015 with the help of Tool Bar and use of a little Navigation feature. Follow the steps and you can create your own, here you go.
Create Project in Blend 2015
I hope you are aware of creating your own project in Blend 2015, however if you are not, there is no need to worry about it. Simply activate the Blend 2015 from your taskbar and do the following steps.
- Select “Universal” from the left pane shown in the circle.
- Select “Blank App” from the template as shown in the picture.
- Name your solution anything you want as I named it “Signup Page“.

Designer Window
In the next phase, a designer window will be open after you created your project following the above mentioned guidelines. Divide the task into two categories.
- Create Sign in
- Create Sign up
Sign in
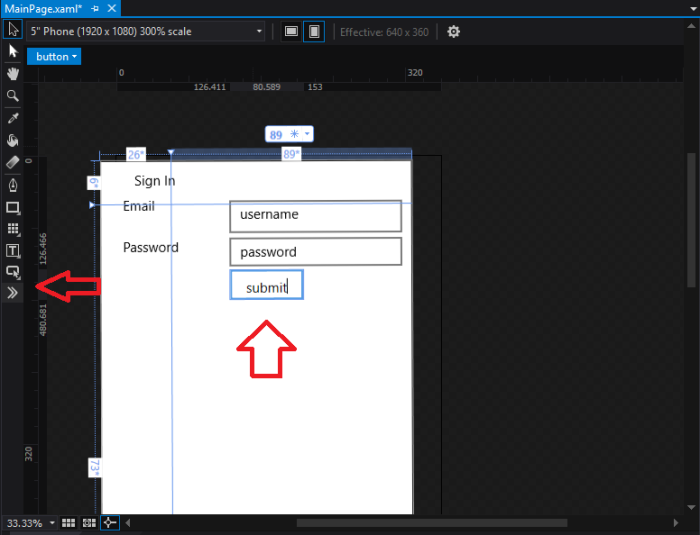
In order to create a sign in, use your “Tool Box” and simply drag and drop the following tools from your tool box. Tool Box is shown with help of arrow, on the left side of your designer window.
- Drag the “
TextBlock” and drop to “Designer Window” and name it “Sign In“. - Drag the “
TextBlock” again and drop now on left hand side, as shown in the picture, name it “Email“. - Now drag the “
TextBox“ again and drop next to the “email text block“. - Again drag the “
TextBlock” and drop it under the “Email“, name it “password“. - Now drag the “
password” and drop it next to the password textblock. - In the end, drag and drop the “submit “button.
(Hint… image will help you out).
Create Sign Up
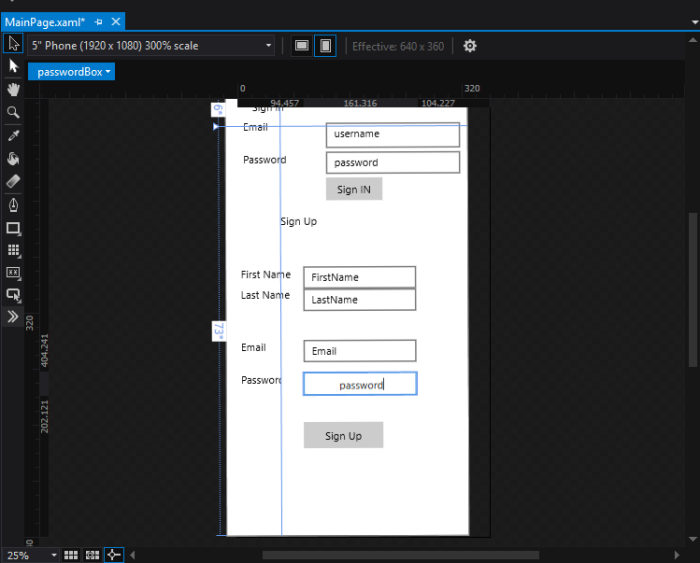
On the same designer window , now it's time to create a “SignUp page”. The simple steps using tool box are:
- Drag the “
Textblock” and drop under the submit button , name it”SignUp“ - Now select the “
Textblock” and drop it under the “SignUp”, name it “First Name”. - Again select the “
TextBlock” and drop it under the ”First Name“, name it “Last Name“ - Same process repeat for ”
Email” and “Password”, just select the “TextBlock” and drop them. - Now use “
TextBox” in front of every “TextBlock”, in SignUp, except for password. - For password, select “
password“ and then drop it next to “password textblock.” Image will give you the idea. - Drag and drop the “button” in end, change content to “Sign Up“.
(Hint…Password will not be shown if you use that tool).
Navigation
Now after you created a simple “SignUp page”, we can use the Navigation feature to move to next page. For instance, when you press the sign up button, it will lead you to the next page.
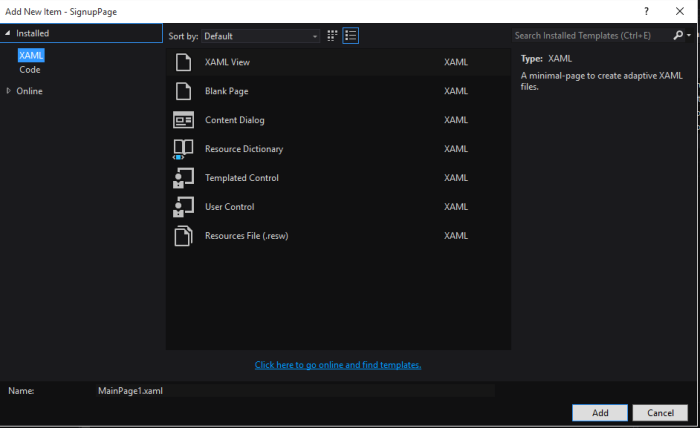
- Go to project
- Select “add new item”
- Select “Blank Page”
- Name your page
- For instance “Navigation”
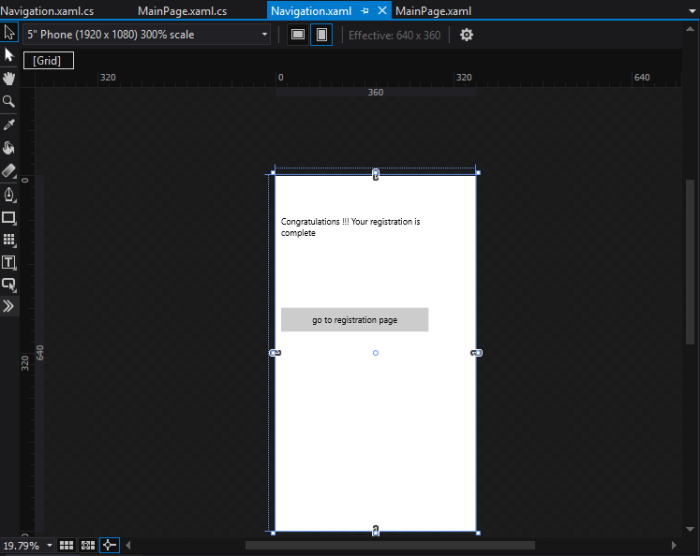
Creating Navigation
Once you add the page, and name it, simply drag and drop the textblock with the message “Congratulations your registration is complete” and button with the content “Go back registration page“.
Navigation States
There are two states, going forward and backward, so when you press the Sign Up button, it will navigate you forward to “Navigation.xaml” page and when you press go to registration page button, it will navigate you back on “Main Page”.
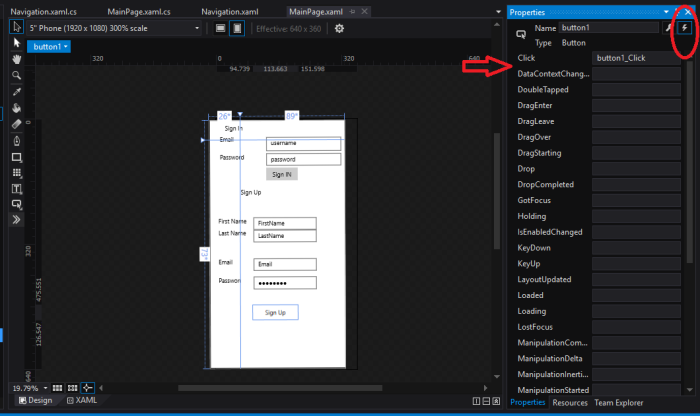
Navigation Forward
For the forward navigation:
- Double Click the “Sign up ” button.
- Select the sign shown in circle.
- Double click the click property.
- Notice the name of click property is “
Button1_click“
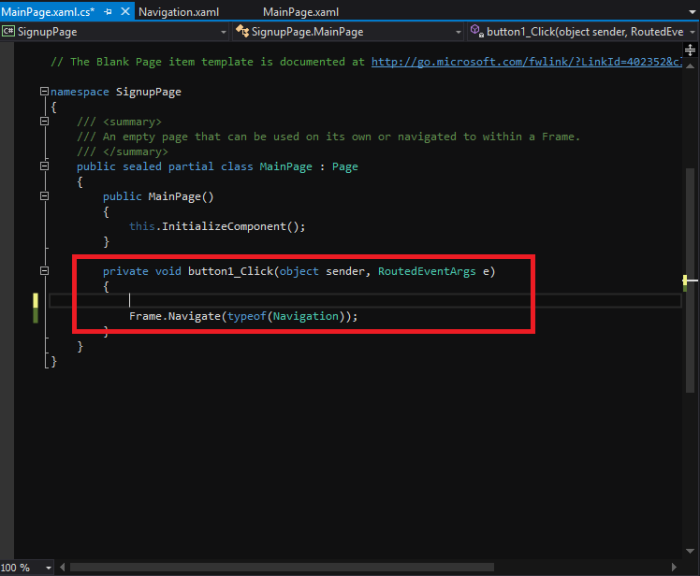
Navigation Code
When you double click “MainPage.xaml.cs” file will open, simple write these two lines of code and in this way you can navigate forward once you complete the registration page and press “Sign Up” button. Intellisense will help you out. You can see “button1_click”, same name of function and click property.
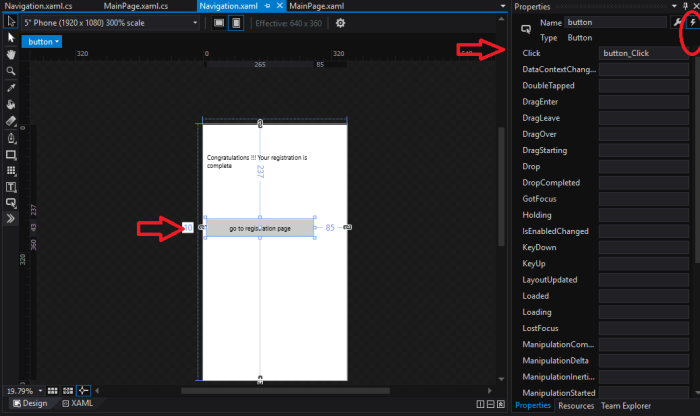
Navigation Backward
For backward navigation, go to your page “Navigation.xaml” and in same way double click the button.
- Select the button and double click on it.
- Select the button in circle shown in property window.
- Double click the content property as shown by arrow.
- Note that the name here is “
button_click“.
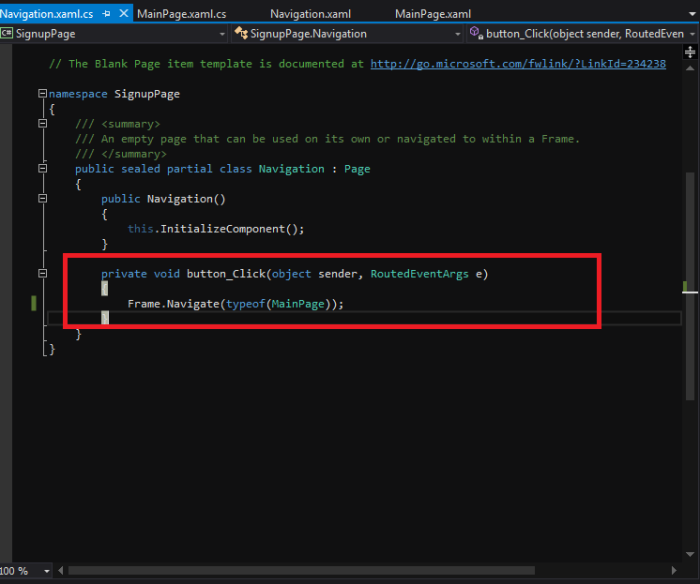
Navigation Code
The “Navigation.xaml.cs” file will be open, simply write this code and tell the navigation about the page you want to go, when you press the button, in our case we again want to return to our main page so our code will be like this. Intellisense will help you out.
Overview
In a nutshell, we create a simple Sign up page using tool bar and use a little navigation to visit from one page to another.