Get Ready for Windows 10: How to Make "Get Windows 10" Icon Appear in Your Windows taskbar
5.00/5 (31 votes)
This tip is especially useful for users who own the licensed copy of Windows 7/8/8.1, and would like to upgrade to Windows 10 after July 29, 2015.
Introduction
This tip is especially useful for users who own the licensed copy of Windows 7/8/8.1, and would like to upgrade to Windows 10 after July 29, 2015. Since the Windows 10 upgrade was announced at the end of June, 2015, many users experienced the problem of reserving their free Windows 10 upgrade beforehand, because the "Get Windows 10" application was not properly installed in the Windows system due to using standard user, non-administrative accounts, turned off Windows Updates, setting up and configuring firewalls and antivirus malware protection, preventing the application is being installed to the system. The following tip provides the step-by-step troubleshooting tutorial, which guides us how to install "Get Windows 10" application manually without reinstalling the Windows system and reporting this problem to the Microsoft support.
Here's How...
1. The first thing that you have to do is logon to your computer as the Administrator.
Please make sure that you're currently logged on as the Administrator. All changes made to your Windows system, described in this tutorial, require the elevated administrative rights permissions. Alternatively, instead of logging on to the Administrator account, you can also run the separate processes used in this tutorial as the administrator using the following command at the command prompt or the PowerShell:
C:\Users\Guest> runas /profile /env /user:Admin "cmd.exe"

PS C:\Users\Guest> Start-Process 'cmd.exe' -Verb RunAs -Wait
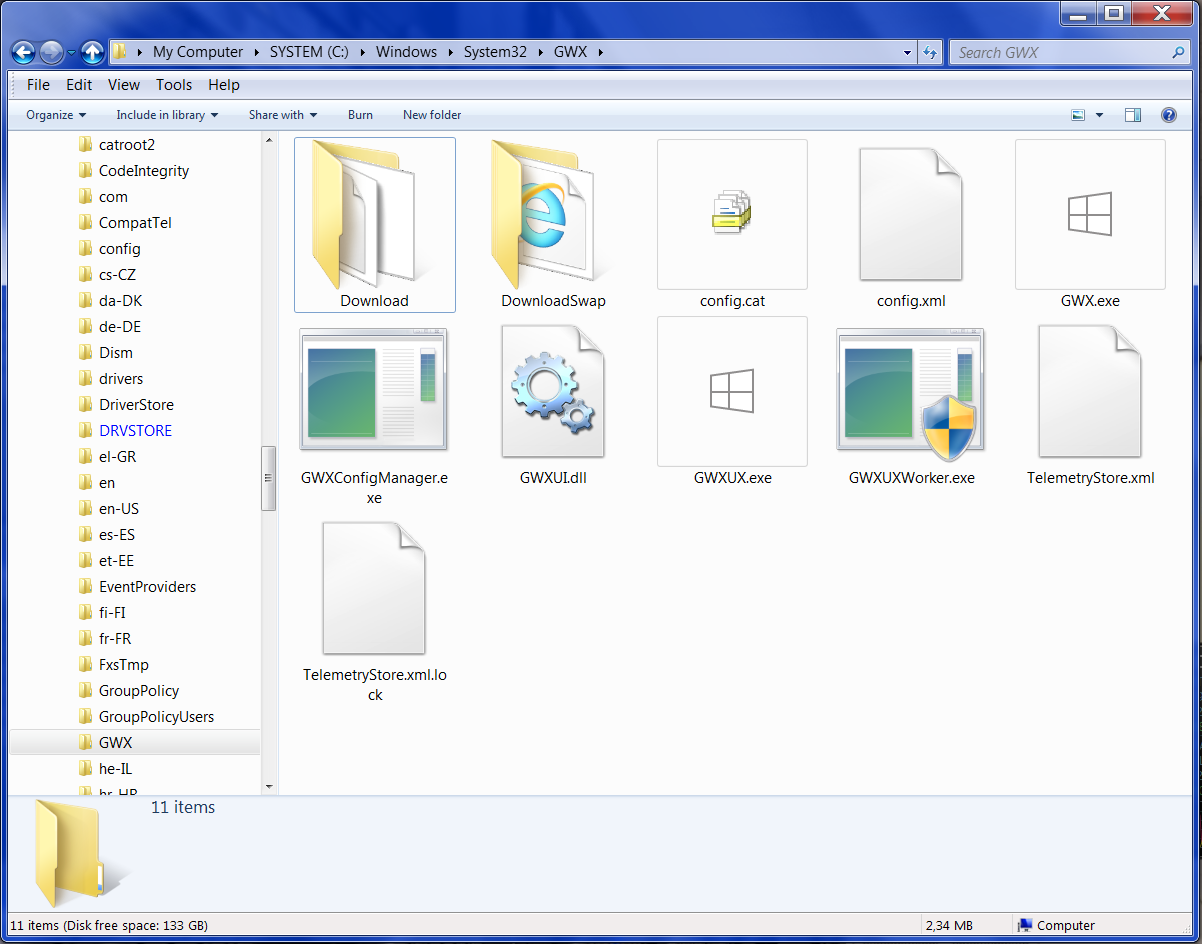
2. Now, locate the X:\Windows\System32 folder, and make sure that it contains the GWX subfolder.
At this step, we have to check if X:\Windows\System32\GWX folder already exists and contains the valid "Get Windows 10" application files GWX.exe, GWXUI.exe and GWXUXWorker.exe in it. And if it's not, go to the next step of this tutorial, otherwise go to step 4.
3. Install Microsoft KB2952664 and KB3035583 updates
If the X:\Windows\System32\GWX folder does not exist, that means the "Get Windows 10" application is not properly installed in your Windows system. To install this application, you basically need to install the KB2952664 and KB3035583 updates.
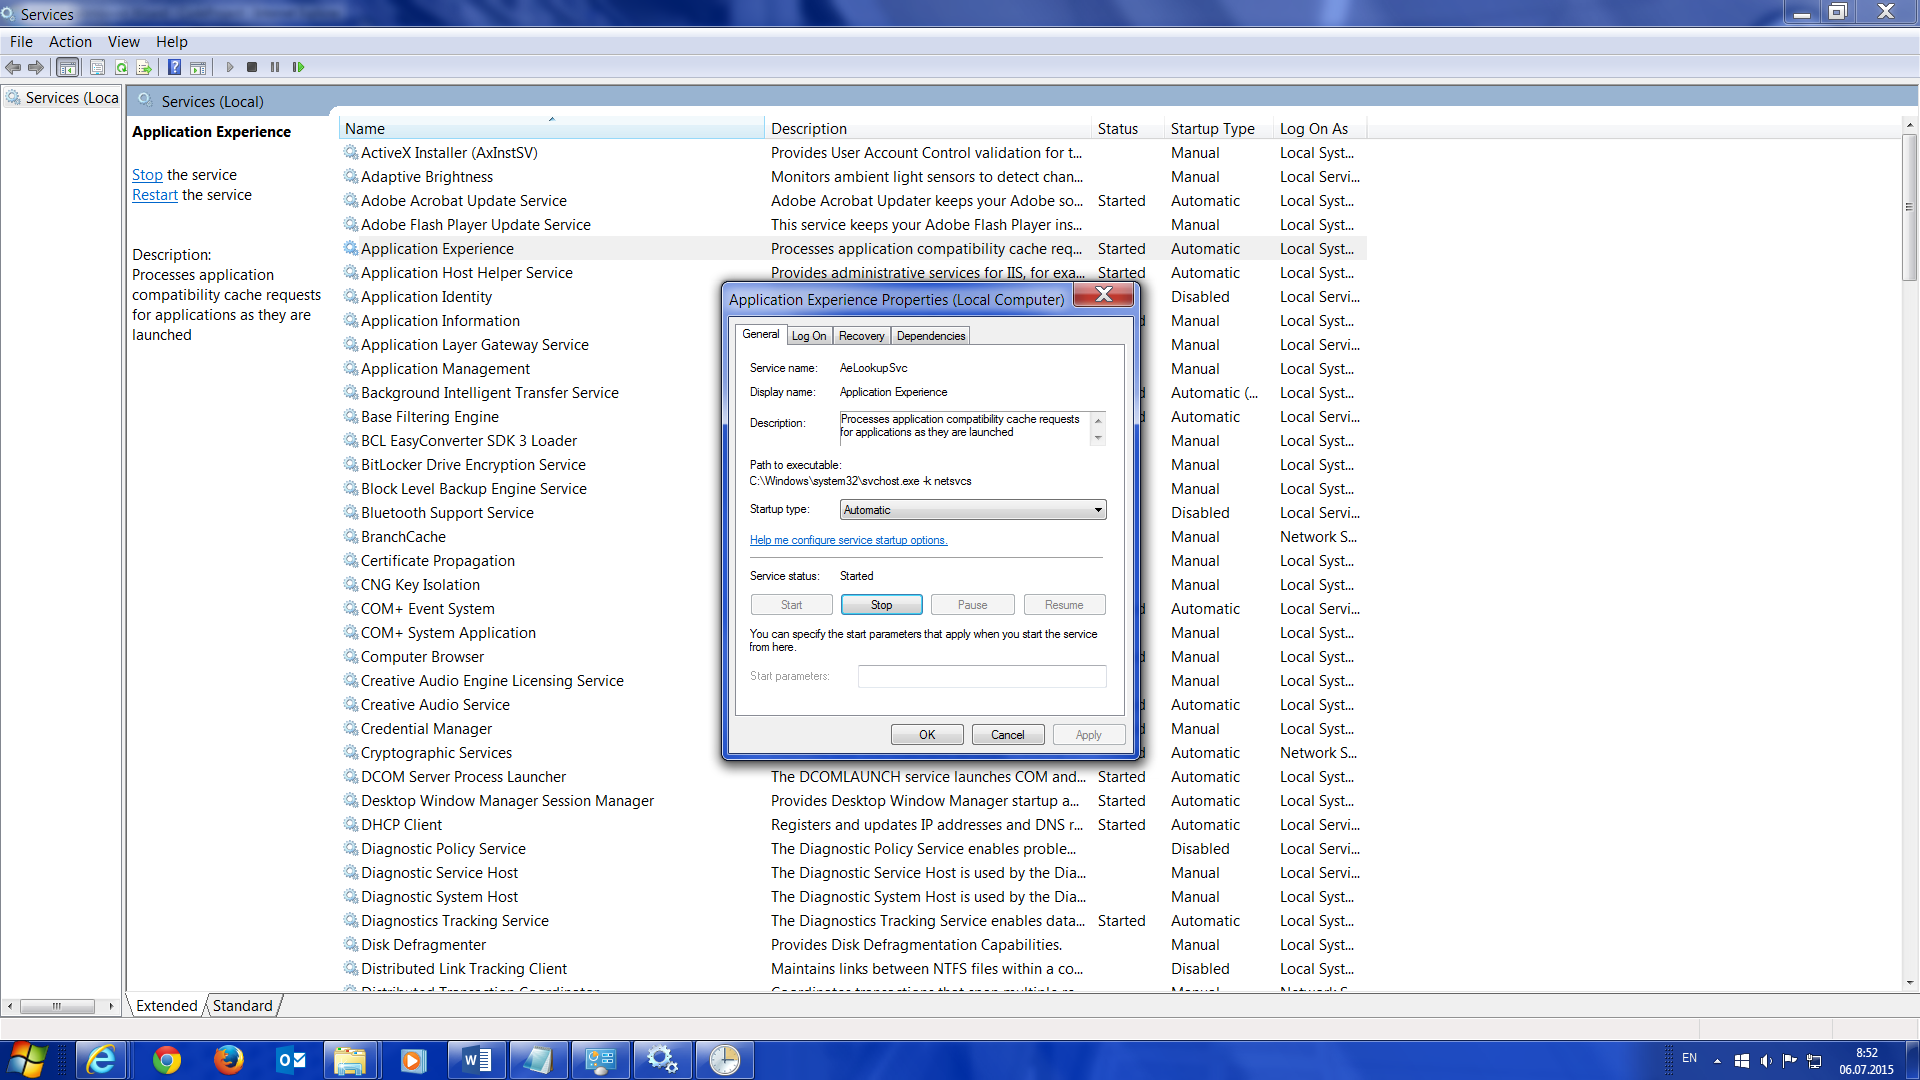
4. Check if the Application Experience service is installed and already running at the MMC Services Snap-In.
To run the "Get Windows 10" application properly, it's required so that the Application Experience service that invokes the Microsoft Compatibility Appraiser system task, is started. If not, please manually start this service and specify startup-type as automatic to run this service during the system boot.
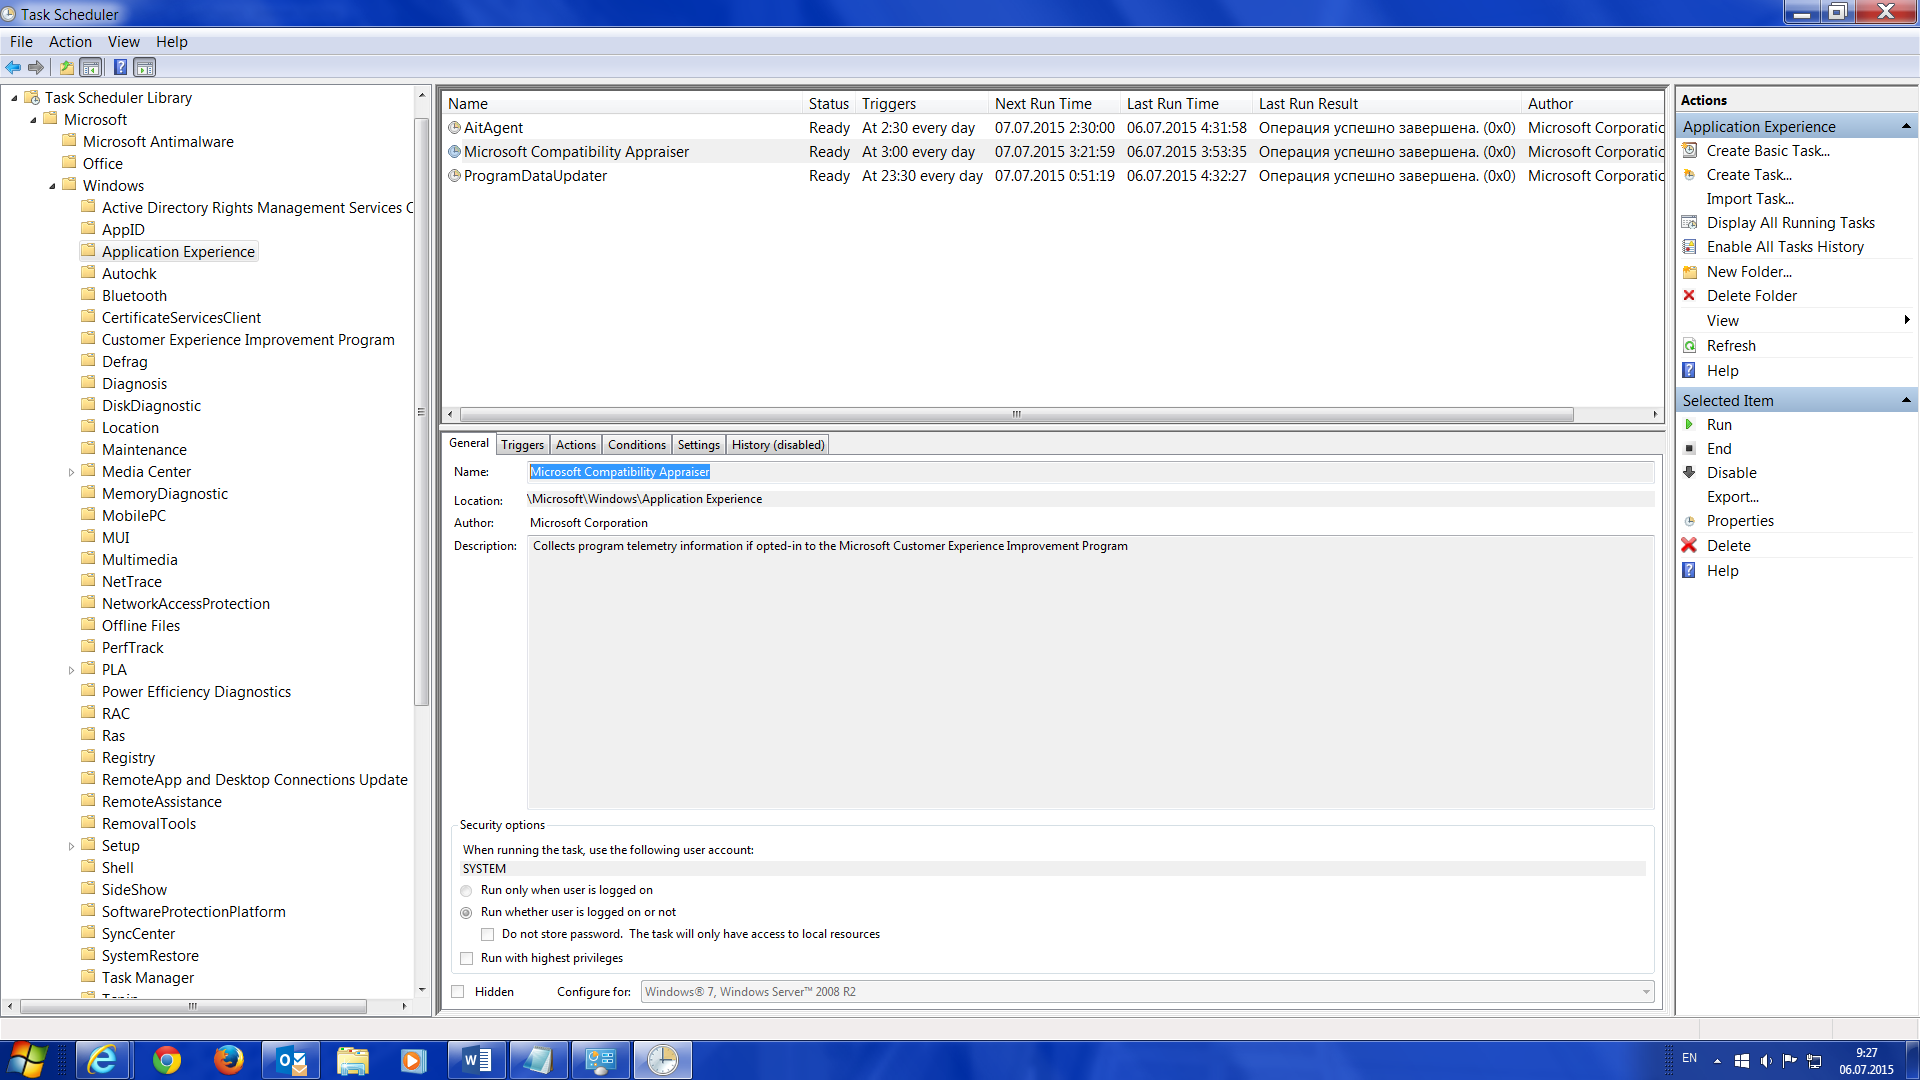
4. Use the Windows Tasks Scheduler MMC Snap-In to enable and run the Microsoft\Windows\Application Experience\Microsoft Compatibility Appraiser task.
After installing updates and setting up the Application Experience service, now, we have to enable and run the Microsoft Compatibility Appraiser system task that ensures that the "Get Windows 10" application is actually running.
5. Finally, we have to apply patch to the system to activate "Get Windows 10" application.
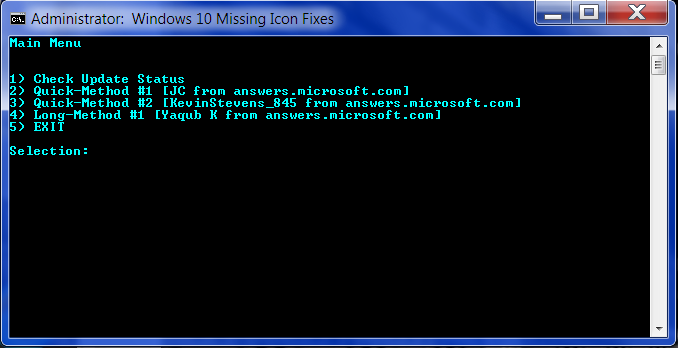
The final step of this tutorial is to run the Windows 10 upgrade icon script at the command prompt using the following command:
C:\Users\Guest> runas /profile /env /user:Admin "windows10fix_full.bat"
When using this script, make sure to pass all the basic activation steps provided by the following script:
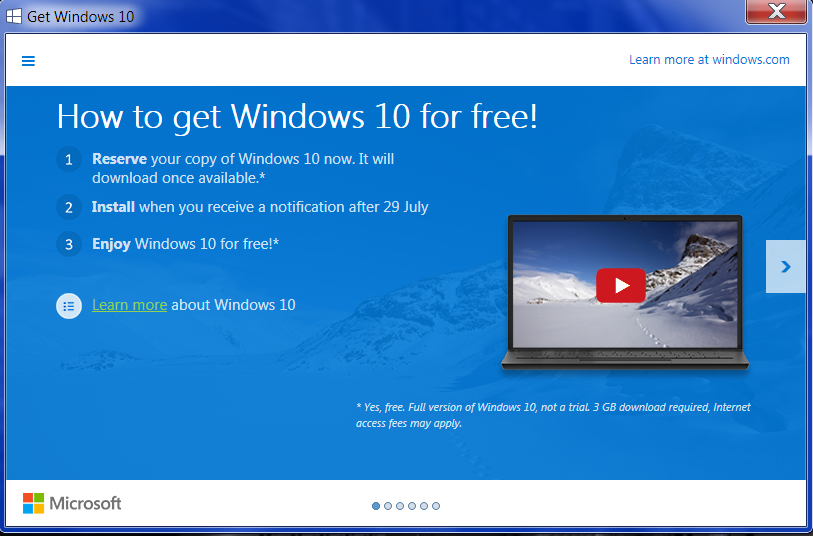
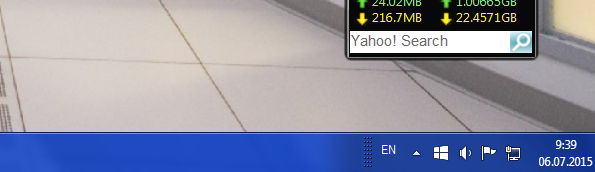
6. After that, the "Get Windows 10" icon should immediately appear in your taskbar notification area (and if it doesn't, just take it easy and restart your computer).
7. Finally, you're absolutely free to reserve your legal copy of Windows 10 using "Get Windows 10" application after July 29, 2015.