
Create, Connect and Add Custom Domain to WordPress Bitnami Ready-to-Run Virtual Machine in Microsoft Azure
5.00/5 (3 votes)
In this article, I will describe how to Create WordPress Bitnami VM, how to connect to VM, how to add Custom Domain to that VM and important steps to follow after fresh installation.
Introduction
WordPress is one of the world’s most popular web publishing platforms for building blogs and websites. It can be customized via a wide selection of themes, extensions and plug-ins. More than 60 million websites are powered by WordPress.
There are many ways to host a WordPress website in Microsoft Azure like:
- Create WordPress website using default WordPress Web App either scalable or simple. For that, you have to pay for DB additionally.
- Host your DB in separate VM and connect your Web App.
- Manually install everything from scratch in VM. Cost will be needing special attention.
- Use Bitnami WordPress pre-configured Ready-to-Run Image. You are all set to go in less than 15 USD per month.
So, here, I’ll tell you about the recommended way – using Bitnami Stack.
Create Virtual Machine
First, login to your Azure portal and hit new, then select WordPress under the Virtual Machine category by Bitnami.
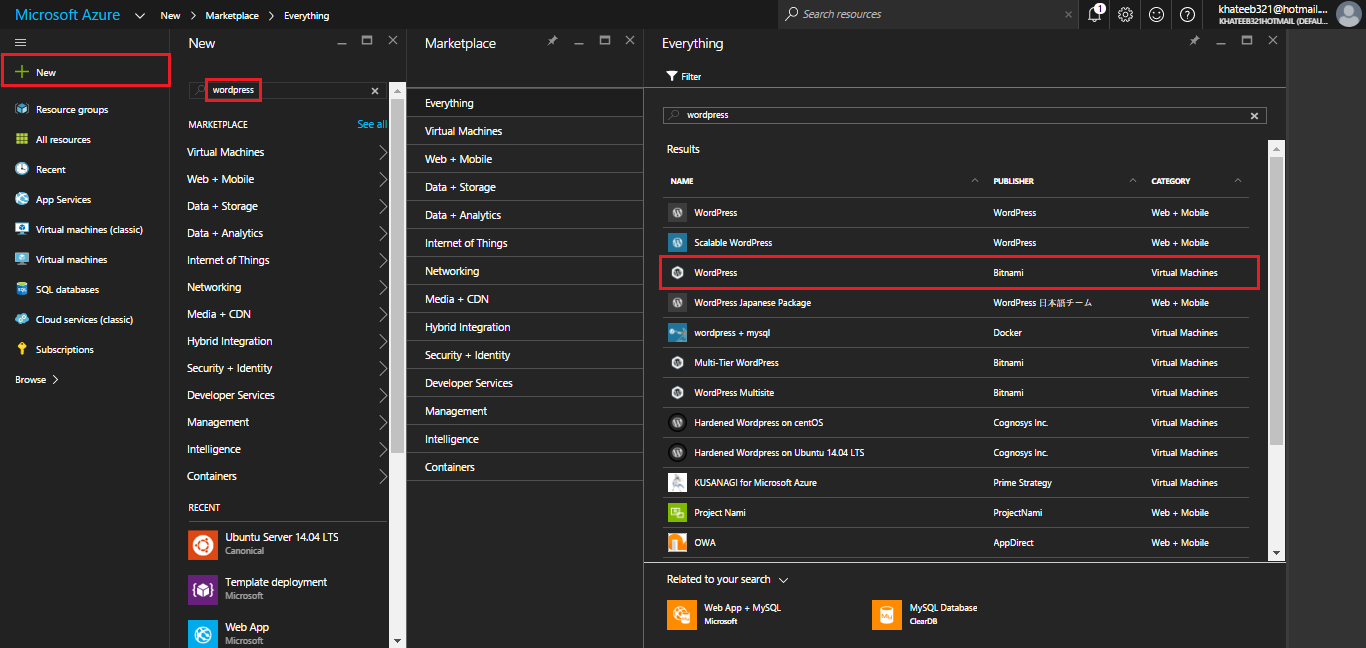
Then hit Create.
After that, fill out some basic information like VM name, username, password and machine size, etc
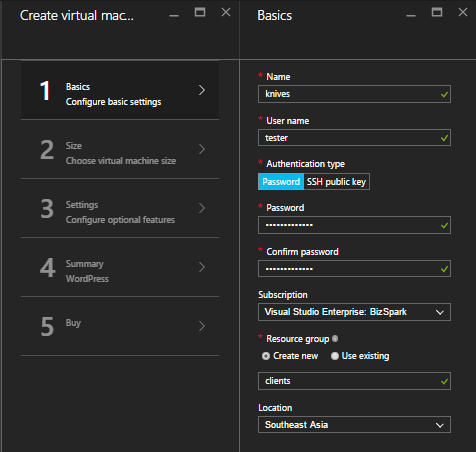
Then hit Purchase.
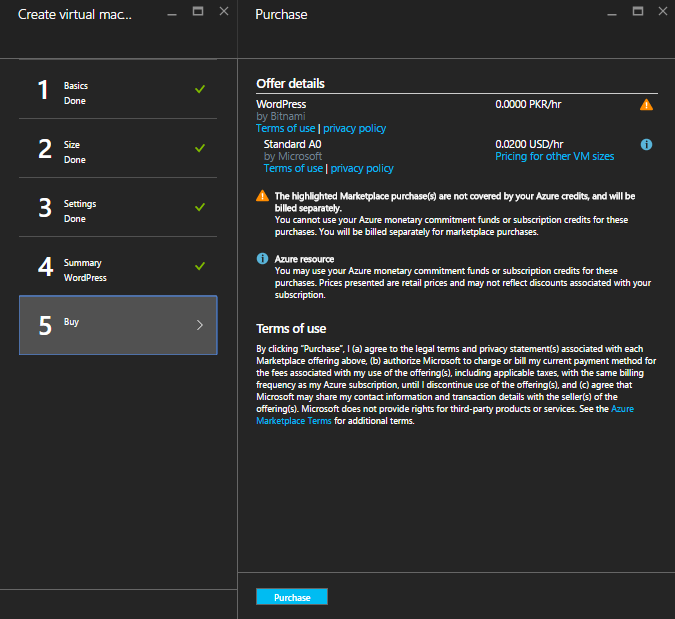
After the installation, VM’s blade will open automatically.

Under the Essentials, copy the Public IP address and try to access it in your browser.

In just few clicks, WordPress site is up and running in Microsoft Azure cloud using Bitnami Stack.
Connect to Virtual Machine Using Git Bash
There are multiple ways to connect to VM resides in Azure cloud, you can connect through RDP (Remote Desktop Protocal), but why to install Desktop in Linux machine and create an RDP connection when you just have to work in Terminal?
To work with commands only, you can use many SSH clients like PuTTY, KiTTY, Xshell 5 and Git Bash, etc. In this tutorial, I’ll be using Git Bash, go ahead and install – if you haven’t already – I’ll wait here.
For a connection, you need three things from Azure portal:
- VM’s DNS Label
- Username (created during VM creation)
- Password (of that user)
Now open Git Bash and enter ssh connection command:
ssh username@DNSLabel
Now enter user’s password, you’ll be connected to VM.

At this point, you have connection with your VM.
Add Custom Domain to VM
You cannot tell user or Search Engine to use Public IP to access your site. Plus, Public IP changes unless you pay extra bucks to get static Public IP.
To add custom domain to your Azure VM, you must have an idea of CNAME and A record.
As Public IP changes and we had to spend some money to get static Public IP, I’m using CNAME here instead of A record.
From your Resource Group in, which your VM is sitting, choose Public IP > Settings > Configuration, choose available DNS Name Label.


So, now your DNS name label will be ChoseName.VMLocation.cloudapp.azure.com. Meaning, you can access your website using this URL. Now, you have to align your custom domain with this DNS name label.
Now, go to your DNS provider site and manage DNS settings. In my case, it is NameCheap.
Fill the fields as follows (according to your DNS name label).

Save the DNS settings and you’re all set!

Now you can access your VM using your custom domain name.
Important Steps After Fresh Installation of WordPress Bitnami Stack
1. Change WordPress Username and Password
By default, Username will be “user” and Password will be “bitnami”, you have to change that.
First, using default username and password, you’ll be redirected to WordPress Dashboard, then go to users > add new and enter the information about new user – keeping in mind, role should be administrator.

After creating new user, delete the old default user.

2. Change MySQL Password
By default, root password of your MySQL database will be “bitnami”, you need to change that. First, connect to your VM and run this command:
stack/mysql/bin/mysqladmin -p -u root password <New Password>
You don’t need to change wp-config.php file, Bitnami will take care of it.

3. Remove Bitnami Badge
When you install WordPress on Azure using Bitnami Cloud Image, you’ll see the Bitnami badge on your WordPress site.

To remove this badge, first, connect to your VM, after authentication, run this command:
sudo /opt/bitnami/apps/wordpress/bnconfig --disable_banner 1

Refresh your site, badge will be gone.