
Simple Guide to Add Additional Web Servers For Your Existing SharePoint
5.00/5 (1 vote)
This is a simple guide to add additional web servers for your existing SharePoint.
Yesterday, we showed you how to make your SharePoint server Fail-over aware now to complete the full High Availability for your SharePoint, we will be adding additional Web Servers to your SharePoint Farm.
You might be asking why you need to do this? Well, the main reason is making your SharePoint Web Server available all times, so if a server is down, the other one can take over, similar to the database fail-over reason. This is just one of the benefits. Another important one is that you can easily add patches to the Windows Server Environment easily and restart them without affecting your users.
Convinced yet? Let's start and you will be surprised - it’s quite easy to do, it’s just like installing a software.
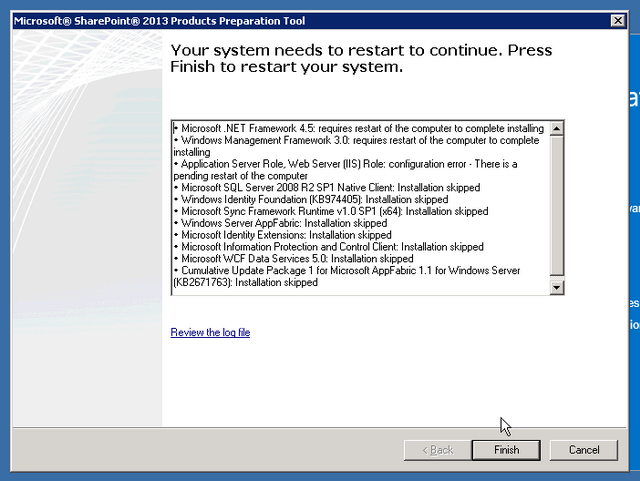
Let's start by setting up your new SharePoint server, the one that will mirror the primary. This means you already have an environment setup with Windows. The first step is to install the prerequisites.

Once finished, it will restart a couple of times.
Then, you will get a confirmation is complete.

Now, install SharePoint (This is applicable to all SharePoint 2013 versions even Foundation).

Choose a complete setup.

Click Next.

Then Yes.

Now, you choose Connect to an existing server farm.

Indicate your current SQL Server, click retrieve Database Names and Choose your SharePoint configuration database, by default its SharePoint_Config.

Type in the Passphrase you used before when initially setting up your SharePoint for the first time.

Proceed and choose advanced settings.

Choose use this machine to host the web site, this means you have your Central Administration redundant as well.

Check if everything is correct.

Then, click next and wait.

Once finished, you will have a Confirmation Screen.

At this point, you’re done, really! you’re finished. All you can do now is confirm if the setup went well by going to Central Administration -> System Settings -> Manage Servers in Farm.

You will see that your new server is connected.
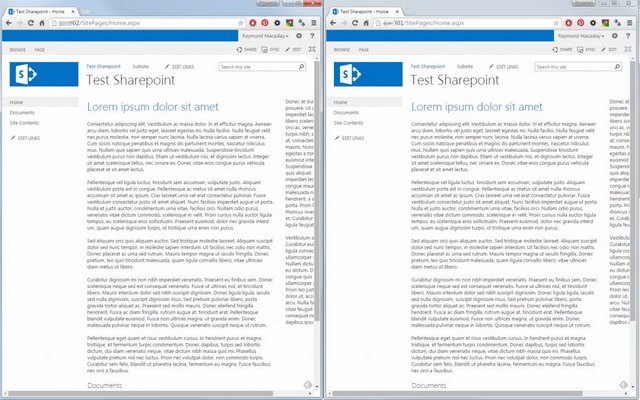
Then you can try it, open two browsers, first point to the original URL, then next point it to the new server name, you will see it will serve exactly the same contents.
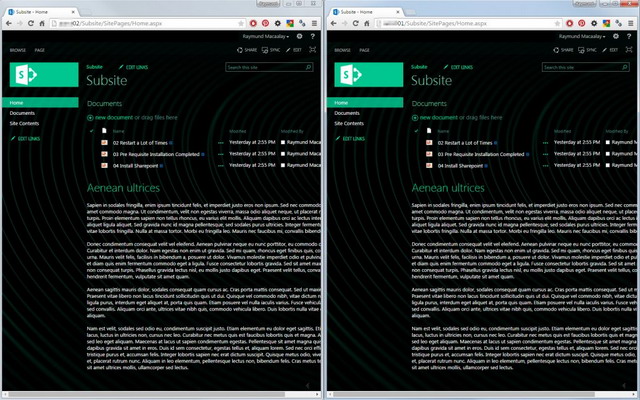
But wait, if you have turned the Minimal Download Strategy feature, then you might encounter something similar to the screenshot below when going to other links.
This is because of the additional “/_layouts/15/start.aspx#” on the URL.

If you disable the Minimal Download Strategy, that will disappear.

Now everyone is happy. Up to your network engineers to do their work on the URL automatic redirection when one site is down but at this point, your SharePoint will run on multiple servers.
Important Point to Consider
The patches on your main SharePoint Server should be the same on this new SharePoint Web Front End Mirror, otherwise you will receive an error that states “Failed to connect to the existing server farm located at the specified database name. The database name is not a valid configuration database”. To get an exact list of updates, go to your Programs and Features under Installed Updates.