
Fusion Development for Sales Apps Part 2: Receiving API Calls from Power Apps
5.00/5 (1 vote)
In this article we learn how to create a Python app using FastAPI deployed to the Azure App Service.
The first article in this three-part series demonstrated how a citizen developer could create a Microsoft Power App with low code to lay out a proposed business solution’s essential functions.
Organizations can extend Power Apps capabilities by creating custom APIs to expose some functionalities. Plus, it’s easy to integrate a Power App with your favorite Azure systems and APIs.
This article shows how a professional developer can use FastAPI and deploy it to the Azure App Service.
Why FastAPI and Azure App Service?
The FastAPI is a fully-compatible high-performance web framework to help build API endpoints with Python 3.6+. The FastAPI enables writing web apps in modern Python code with type hints.
The Azure App Service is a supported environment providing a unique and robust platform for building and hosting websites and APIs and managing web apps. It supports standard developer tools and programming languages.
This article demonstrates how to add more functions to the Power App we designed in the first article. We start by creating a Python app using the FastAPI deployed to the Azure App Service. Then, we add an endpoint to receive requests from the Power App, query an Azure PostgreSQL database, and return a list of matching vehicles. Finally, we add an endpoint for the salesperson to mark a car as reserved.
To do this, we’ll take the following steps:
- Create an Azure PostgreSQL database
- Connect the PostgreSQL database to an Azure server
- Create a Python app with FastAPI and deploy it to Azure
- Create an Azure app service
Prerequisites
You’ll need the following to complete this tutorial:
- Internet connectivity to the cloud.
- Python 3.6+ installed.
- Preferred IDE, such as PyCharm, Visual Studio Code, or a command-line interface.
- GitHub account.
- PostgreSQL and pgAdmin. Check out this video about installing PostgreSQL on Windows PC or install PostgreSQL on Ubuntu.
- Chrome, Firefox, or Postman to access the OpenAPI generated by the FastAPI framework.
- An Azure account with the Azure App Service and Azure Database for PostgreSQL servers.
Create an Azure PostgreSQL Database
To create an Azure PostgreSQL database, log in to Azure and go to the Azure Portal.
Search for PostgreSQL and select Azure Databases for PostgreSQL flexible servers in the portal.

Then create a new PostgreSQL database by clicking Create.

Select the deployment option suited to your application. For this article, we use the Single server plan.

Configure the basic server details, such as subscription, resource group, and server name.
Note: Users can create their own or use existing resource groups.

Pick a location close to the data’s users to reduce latency. Then select an option in the Compute + storage field.
Next, create an Admin username and Password. These credentials connect to the server using pgAdmin (for database management) and our Python app (the APIs).

After configuring all the essential information, click Review and create to review the server details.

If the details meet your application’s needs, click Create, and the deployment process begins.

Once deployment is complete, click Go to resources to see more database configuration options, such as security and access control.

Connecting the PostgreSQL Database to the Azure Server
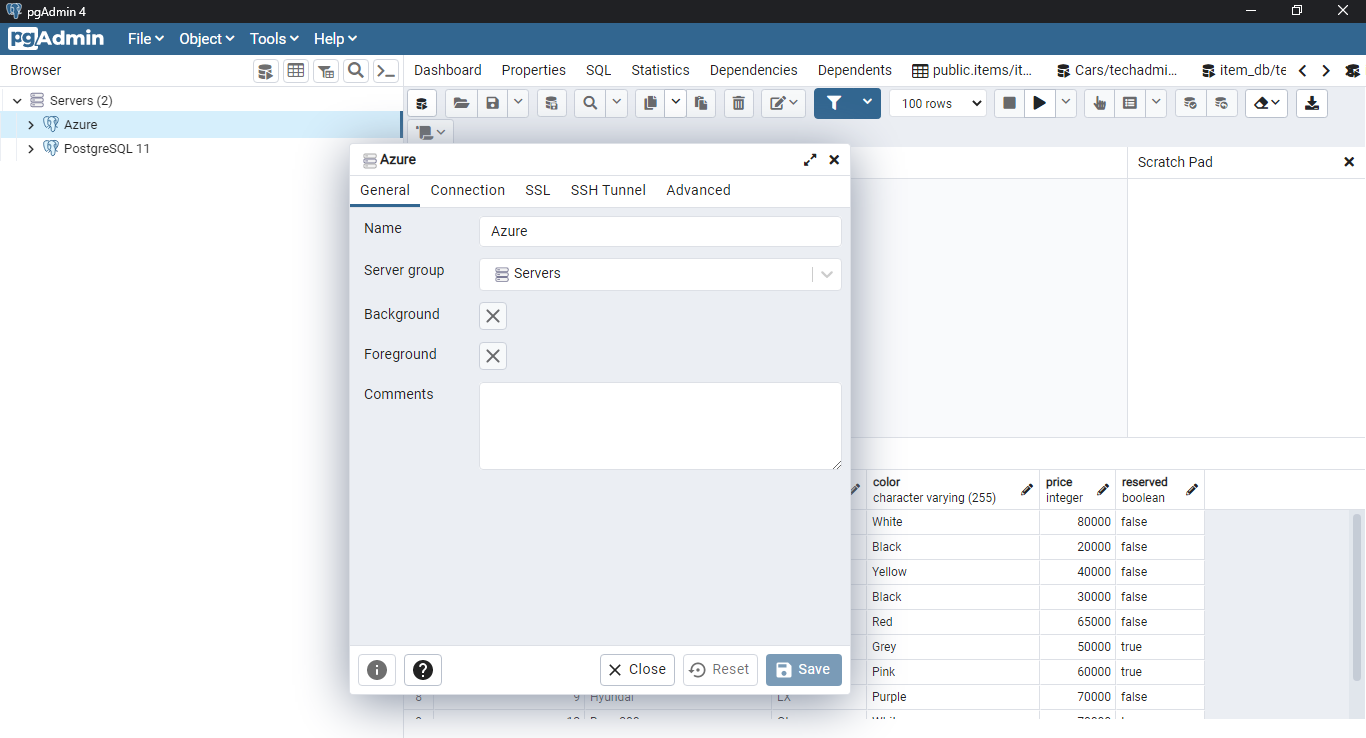
The pgAdmin client is the most popular development platform for PostgreSQL. Install the pgAdmin client and create a master key. The key is required every time you start PostgreSQL.

On the General tab, enter the server’s name. Enter the Azure database server details on the Connections tab — the host server name or IP, username, user password, and port number.
Note: By default, PostgreSQL listens on port 5432. You can change this port.

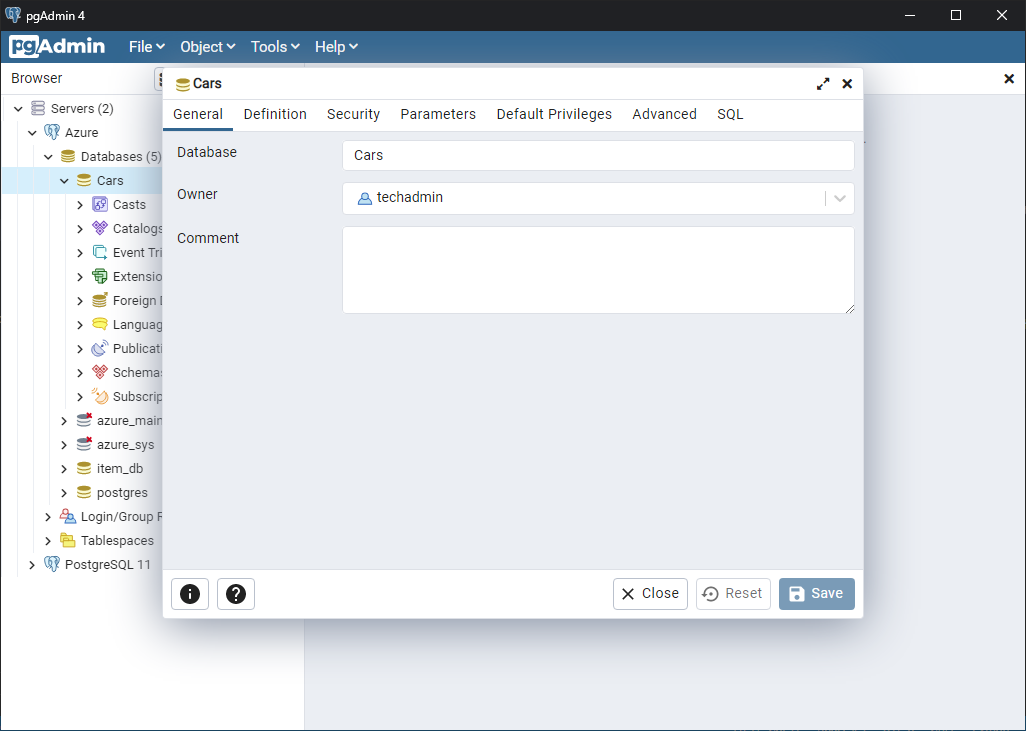
Finally, create a new database. This database connects to the Power App using the OpenAPI we make.

In the Database field, name your database and click Save. Our database is "Cars" in this tutorial.
In the Browser panel, expand the Cars list, then expand the Schemas list. Right-click the Tables list, then click Create table. In the Create – Table dialog box, on the General tab, enter the table name in the Name field.
Our table is "Cars_Inventory" in this tutorial.

Create the table and its columns with a script or use the PostgreSQL user interface.

Export the table contents from your Excel file in article 1 to a comma-separated values (CSV) file to have all data at hand.
To import the CSV file into the new PostgreSQL table, right-click the table name, then select Import/Export Data.

Paste the CSV file’s location in the Filename field and click OK. This action adds the data into the table created in the previous steps.
We’ll use this data in our Python app and FastAPI in the following steps.
Create a Python App with FastAPI
In this section, we’ll create a Python application that enables the following:
- Connecting to the Cars database
- Viewing all items in the Cars database
- Searching and updating items in the Cars database
Installing the FastAPI is the initial step. It’s good practice to start FastAPI projects in a new environment, and it’s easy to maintain the projects in that environment.
Create and activate a Python virtual environment using your favorite IDE or command-line interface.
$ python -m venv CarsFastAPI
In this case, CarsFastAPI is the virtual environment name.
Navigate to the virtual environment using the command:
$ CarsFastAPI\Scripts\activate
We can now install FastAPI in the virtual environment with this command:
$ pip install fastapi
Local testing and production require an asynchronous server gateway interface (ASGI) webserver. Unicorn works perfectly with the FastAPI as a process manager. Install it using the command:
$ pip install unicorn

We then install the gunicorn worker, which is a pre-worker model. It sets up the appropriate worker class for an application. It enables using Python modules by setting up their respective worker class.
Use this command to install the worker:
$ pip install gunicorn

Now we create the following Python main files:
- Database.py creates an SQLAlchemy starting point for the Python to database connection and contains the SQL queries to run.
- Python uses Main.py to start its execution automatically.
The database.py file has the PostgreSQL database server connection details, database server name, username, user password, and database name. There’s no need to add the port number if using the default port 5432. Add this code to the file:
def conn ():
   conn = psycopg2.connect(database="Cars", user="techadmin@test-fast-api-db", password="Mustwork!!", host="test-fast-api-db.postgres.database.azure.com", port="5432")
    conn.autocommit = True
    return conn
This application uses the following scripts. You can find the complete source code on GitHub.
Search for a single item depending on what filter option you selected — for example, Item ID:
def fetch_one(field, value):
    where_q = field+"='"+value+"'"
    connection = conn()
    cursor = connection.cursor(cursor_factory=RealDictCursor)
    cursor.execute('SELECT item_id, available, model, trim level, color, price FROM public."Cars_Inventory" WHERE '+where_q+';')
    rows = cursor.fetchall()
    return handle_results(rows)
This query displays all items in the database:
def fetch_all():
    connection = conn()
    cursor = connection.cursor(cursor_factory=RealDictCursor)
    cursor.execute('SELECT item_id, available, model, trim_level, color, price FROM public."Cars_Inventory";')
    rows = cursor.fetchall()
    return handle_results(rows)
And an array handles all resulting data:
def handle_results(rows):
    columns = ('item_id', 'available', 'model', 'trim_level', 'color', 'price')
    results = []
    for row in rows:
        results.append(dict(zip(columns, row)))

    #return json.dumps(results, indent=2)
    Return
Then, create a main.py file to define all the key processes.
To view all items, run this code:
@app.get("/items/")
def read_item():
    results = database.fetch_all()
    return results
To search by item ID, enter this code:
@app.get("/items/{item_id}")
def read_item(item_id: str):
    results = database.fetch_one("item_id", item_id)
    return results
To search using any two parameters (column and field values), enter this code:
@app.get("/items/{q_field}/{q_val}")
def read_item(q_field: str, q_val: str):
    results = database.fetch_one(q_field, q_val)
    return results
You can test the above functions using Postman (and Insomnia) before deploying them to the Azure App Service application.
Create an Azure App Service
Go to the Azure portal. Search for "App Services" and navigate to it.

Create a new app service by clicking Create.

Configure the base details using the same server-side method.
- If you do not have an active Azure Subscription already, the system picks the free Azure subscription 1 by default. This subscription offers $200 free credit for server resources such as RAM and disk space.
- Resource Group is a container to hold an Azure solution’s related resources.
- Name must be unique and anything of your choice.
- We are publishing using code. Depending on your needs, you can Publish using Docker or a web app.
- Runtime stack is the code’s language, in this case, Python 3.7.

Pick the closest location and hardware needed to run the application. Always pick a nearby Region with all the services you need. When using the basic service plan on Azure, it autogenerates the Linux Plan and Sku and size.

Click Next and choose the deployment method. We use GitHub as our code’s source. We also enable continuous deployment to allow the app service to re-deploy the code automatically if we make any changes.

Finally, click Review + create to review the initial setup details, then deploy the application.
Click go to resources to view the app service overview and other app services. The overview shows the URL for users to reach the app over the Internet.

After a successful deployment, you should be able to access the Root {"Hello":"App"}, Docs, and Redoc pages, like in the screenshots below:


Redoc is the API’s responsive, three-panel, OpenAPI specification-driven documentation.
OpenAPI documents both API endpoints. You can download the openapi.json file on the Redoc page. We use this file to create a custom connector in the following article.
Next Steps
We now have an API to connect our App Service app to the database. This API will enable retrieving and adjusting information so our users can get the latest car inventory and reserve the customer’s preferred car. Continue to the final article of this three-part series to create a custom connector, call the API, and create a reservation button.
To learn how Pro code development fits with Power Apps low code development and Why Pro Code and Low Code Developers need each other, check out our on demand digital event, Pro Code on a Low Code Platform.