Introduction
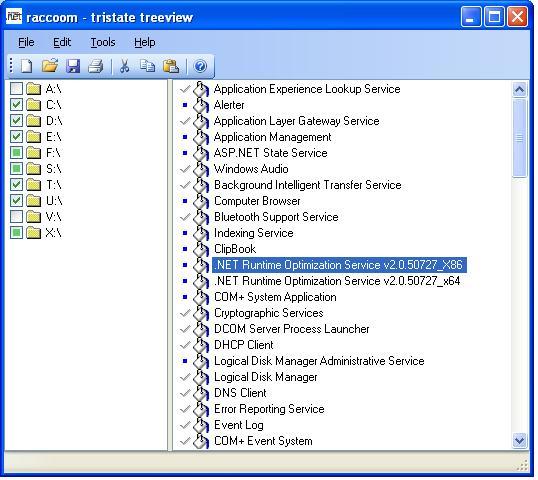
Caused by the new features of .NET 2.0 and VS 2005 I started to write the Enhanced BrowseForFolder styled TreeView (TreeViewStrategy) code from the ground up new. As I came along the new TreeView features, I figured out that it's now possible to use state images in an easy way. So my first take was to implement tristate checkboxes, a useful feature in a folder browser. I realized that, with a few lines of code, state images can be used in many scenarios, that's the reason why you're reading these lines. Hope it's useful for your development as well.
Design

CustomStateTreeView inherits from System.Windows.Forms.TreeView and expects its nodes to implement the IStateTreeNode interface. The following events/methods are overridden to provide the custom state check logic:
OnHandleCreated - Used to create the StateImageList.
OnKeyDown - Hit testing.
OnMouseDown - Hit testing.
To override, these methods became necessary because:
- out of the box, the control only handles node states if
CheckBoxes are enabled.
- the boolean check flag of a
System.Windows.Forms.TreeNode just knows two states.
To implement the desired behaviour, I wrote custom code to handle the node state. The tree view now delegates the state change to the node. The node itself is responsible to change its state accurate to its current context and data.
KeyDown and MouseDown now determine the hit test result to check if the user changed the check state of a certain node. If this happens, the custom Check method is called.
System.Windows.Forms.TreeViewHitTestInfo info =
                             this.HitTest(e.X, e.Y);
if (info.Node != null && info.Location.ToString() == "StateImage")
{
     OnCustomCheck((TriStateTreeNode)info.Node,
            System.Windows.Forms.TreeViewAction.ByMouse);
}
The OnCustomCheck method preserves the BeforeCheck and AfterCheck event logic. So it's still possible to cancel a Check action.
protected virtual void OnCustomCheck(System.Windows.Forms.TreeNode node,
System.Windows.Forms.TreeViewAction action)
{
System.Windows.Forms.TreeViewCancelEventArgs e = new
System.Windows.Forms.TreeViewCancelEventArgs(node, false, action);
OnBeforeCheck(e);
if (e.Cancel) return;
if (node is IStateTreeNode)
{
((IStateTreeNode)node).UpdateState(e);
}
OnAfterCheck(new System.Windows.Forms.TreeViewEventArgs(node, action));
}
E.g.: for the tri-state tree node, I used the following interface implementation:
public virtual System.Windows.Forms.CheckState CheckState
{
get
{
return _checkState;
}
set
{
_checkState = value;
StateImageIndex = (int)value;
}
}
void IStateTreeNode.UpdateState(System.Windows.Forms.TreeViewCancelEventArgs e)
{
switch (CheckState)
{
case System.Windows.Forms.CheckState.Checked:
this.CheckState = System.Windows.Forms.CheckState.Indeterminate;
break;
case System.Windows.Forms.CheckState.Indeterminate:
CheckState = System.Windows.Forms.CheckState.Unchecked;
break;
case System.Windows.Forms.CheckState.Unchecked:
CheckState = System.Windows.Forms.CheckState.Checked;
break;
}
}
Usage
To use state images in your project, add CustomStateTreeView.cs and derive your tree view from CustomStateTreeView. Override CreateStateImages() to fill your state images into the StateImageList. On the other side, implement IStateTreeNode to your TreeNode classes, and switch StateImageIndex there to show the image you added to visualize the desired state.
Conclusion
Tri-state nodes are nice, but bear in mind that features like load on demand and complex recursive node checking aren't part of this article. This one just lets you use custom state images with a few lines of code.
Enjoy!


 General
  News
News  Suggestion
  Question
  Bug
Bug  Answer
  Joke
Joke  Praise
  Rant
Rant  Admin
Admin 


