
Day 96 of 100 Days of VR: Endless Flyer – Adding Music and Motion Blur with Post Processing Effects
0/5 (0 vote)
How to add music and motion blur with post processing effects
Introduction
Here, we are in the final post in our power-up series and we’re on day 96! I can’t believe we’re almost nearing the end!
Somewhere along the line, I think this dragged on far longer than it should have, but my pride was too high for me to give up on this! When I reach the end of this, I’m not going to be doing series like these anymore! Rather, I think I’ll work on something on the side and write articles about interesting topics that I find.
It’s time to get to today’s topic! Today we’re going to:
- Add the new sound effect for our power-up
- We’re going to look at creating a Motion Blur with Post Processing Effects to reinforce the fact that we’re going faster
The first part we’ve already done 2 times, but the last part will be something we have never done before!
Step 1: Add Invincible Power-Up Sounds
Step 1.1: Find the Sound Effect
We know the drill, let’s find a sound that we’ll play for the invincible power-up. One thing that came to my mind is the soundtrack that plays from Super Mario Bros when we collect the star, let’s find something similar.
I looked around and I found: Skibka Music – Invincible
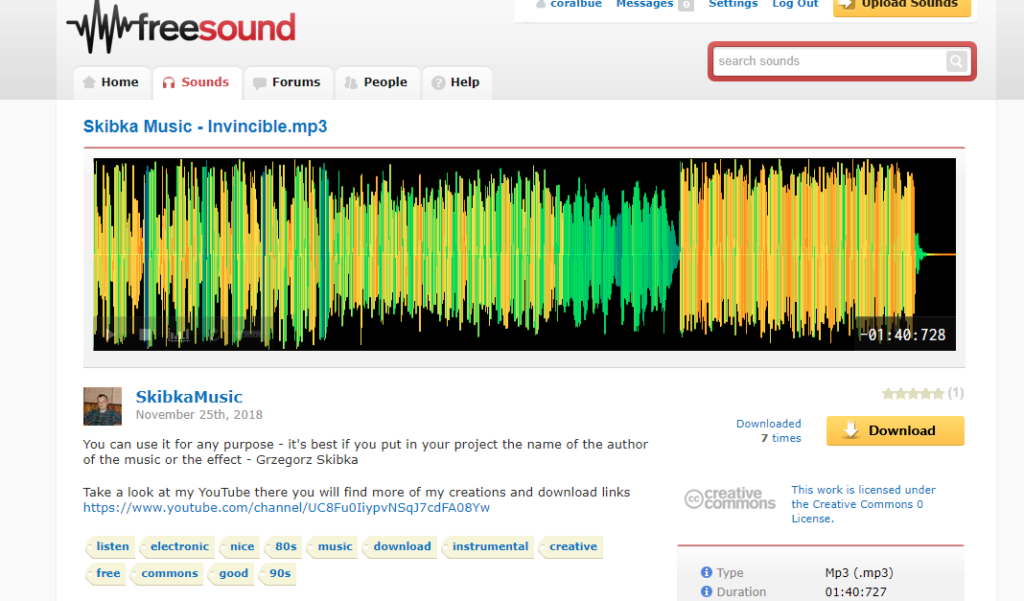
The nice thing about this sound track is that it’s 1 minute and 40 seconds long, which is longer than our duration! No slicing needed!
Step 1.2: Adding the Music Into the Game
We know the drill.
Download the music and add it into the Music folder, call the file Invincible.
Next up, let’s add the music into our PlaneCollider script for when we run into the Invincible power-up.
Here’s what it looks like:
using UnityEngine;

public class PlaneCollider : MonoBehaviour
{
	public GameObject PlaneObject;
    public GameObject Explosion;
    public AudioClip MagnetSFX;
    public GameObject MagnetParticleEffect;
    public AudioClip MultiplierSFX;
    public GameObject MultiplierParticleEffect;
    public AudioClip InvincibleSFX;

    private SoundManager _soundManager;
    private GameObject _currentParticleEffect;

    …

    private void InvincibleCollision(Collider other) {
        Debug.Log("invincible collision hit");
        PlayerManager.Instance.AddPowerUp(PlayerManager.PowerUpType.Invincible);
        Invincible invincible = other.GetComponent<Invincible>();
        invincible.Collect();
        _soundManager.PlayBackgroundClip(InvincibleSFX);
    }
}
At this point, I’m sure we all know what this does. If not, go look at Day 92 for an explanation of what this code does.
Setting Up the Script
Add our new Invincible music to our new InvincibleSFX slot in our PlaneCollider script.
Step 2: Adding Motion Blur with Post Processing Effects
Step 2.1: Installing Post-Processing Stack
I’m not going to pretend that I’m an expert in post-processing (or even competent in it), instead, I’m just going to showcase how to install and use it.
To use motion blur effect when we move, we need to use post-processing effects. Specifically, these are effects that get applied on top of the graphics that our camera sees after it finishes rendering everything. These effects greatly improved the visuals in our game (just look at the image in the link above!)
These features are not in Unity by default, we have to install the asset: Post-Processing Stack.

Install and import everything to Unity.
Step 2.2: Creating a Motion Blur Post Processing Effect
Now that we have the Post Processing Stack imported into the Unity, we can start using it! Here’s the documentation I looked at for Setting up the Post Processing Stack.
To summarize what we need to do:
- Add a Post Processing Behavior script to our Camera
- Create a Post-Processing Profile
- Add the profile to our script
Note: These scripts and files are included with the post processing stack. We must import the package if you want to be able to get these scripts.
- Go to Player > Main Camera and add our new Post Processing Behavior script.
- Then go to our Project directory and make a new folder called Post Processing and right click: Create > Post-Processing Profile to create a post processing profile. Just call it
Profile.

Now that we have this, we need to create our Profile:
If you click on Profile and look at the inspector, you’ll see a lot of post-processing effects. The one that we are after is Motion Blur. Enable it.
Here’s what it looks like:

We didn’t play with any of the settings nor am I going to look at the other options, if you’re interested, you can read more about them here.
Another important note, post processing only works during runtime. We have to play the game to see the effects.
Step 2.3: Use our Post-Processing Script from our Camera Manager
Now that we have the effect, we only want to apply it when our invincible power-up is active and remove it when it’s not.
With the underlying work in place now, we now need to be able to use them in code. A long time ago, we wrote a Camera Manager script that manages our cameras for us. Coincidentally, this would be a good place for us to store our code!
We can find our Camera Manager script with the rest of our manager scripts in the Manager game object.
Let’s modify it to add and remove our Post Processing Profile. Here’s what it looks like:
using UnityEngine;
using UnityEngine.PostProcessing;

public class CameraManager : MonoBehaviour
{
    public static CameraManager Instance;

    public Camera GameOverCamera;
    public PostProcessingProfile Profile;

    private Camera _mainCamera;

    void Start()
    {
        if (Instance != null)
        {
            // If Instance already exists, we should get rid of this game object
            // and use the original game object that set Instance
            Destroy(gameObject);
            return;
        }

        // If Instance doesn't exist, we initialize the Player Manager
        Init();
    }

    private void Init()
    {
        Instance = this;
        _mainCamera = Camera.main;
        _mainCamera.gameObject.SetActive(true);
        GameOverCamera.gameObject.SetActive(false);
    }

    public void GameOver()
    {
        _mainCamera.gameObject.SetActive(false);
        GameOverCamera.gameObject.SetActive(true);
    }

    public void AddPostProcessing()
    {
        PostProcessingBehaviour behavior = _mainCamera.GetComponent<PostProcessingBehaviour>();
        behavior.profile = Profile;
    }

    public void RemovePostProcessing()
    {
        PostProcessingBehaviour behavior = _mainCamera.GetComponent<PostProcessingBehaviour>();
        behavior.profile = null;
    }
}
Looking at the Fields
public PostProcessingProfile Profile – This is the profile we’re going to use to turn on our motion blur effect.
Walking Through the Code
AddPostProcessing()is apublicfunction that other scripts can call to enable our specific post processing effect that we set in Profile. All we do in this function is that we get thePostProcessingBehaviorscript from our camera and then we set its profile.RemovePostProccessing()follows a similar logic toAddPostProcessing()however instead of adding a profile, we are getting rid of it to get rid of our effects.
Note: It’s important that we also import UnityEngine.PostProcessing, otherwise our code won’t know what any of the PostProccessing classes that we are using now are.
Setting Up Our Script
Grab our Post Processing Profile called Profile and add it to our Profile slot in the Camera Manager script.
Step 2.4: Calling the CameraManager Script in PlaneCollider and PlayerManager
We just added the ability to add and remove our motion blur post processing effect on our camera, we just need to call it now.
The two places that we do this is our PlaneCollider (big surprise!) to first enable the effect and PlayerManager to remove the effect.
Since I’m sure we’ve seen this code plenty of times already, I’ll just show the changes that we’ve made:
Planecollider:
using UnityEngine;

public class PlaneCollider : MonoBehaviour
{
	public GameObject PlaneObject;
    public GameObject Explosion;
    public AudioClip MagnetSFX;
    public GameObject MagnetParticleEffect;
    public AudioClip MultiplierSFX;
    public GameObject MultiplierParticleEffect;
    public AudioClip InvincibleSFX;

    private SoundManager _soundManager;
    private GameObject _currentParticleEffect;

    …

    private void InvincibleCollision(Collider other) {
        Debug.Log("invincible collision hit");
        PlayerManager.Instance.AddPowerUp(PlayerManager.PowerUpType.Invincible);
        Invincible invincible = other.GetComponent<Invincible>();
        invincible.Collect();
        _soundManager.PlayBackgroundClip(InvincibleSFX);
        CameraManager.Instance.AddPostProcessing();
    }
}
PlayerManager:
using UnityEngine;
using System.Collections.Generic;

public class PlayerManager : MonoBehaviour
{
    public static PlayerManager Instance;
    public enum PlayerState { Alive, Dead }
    public GameObject Player;
    public GameObject MagnetCollider;

    public enum PowerUpType { Invincible, Magnet, Score }
    private Dictionary<PowerUpType, PowerUp> powerUpDictionary;
    private float powerUpDuration = 45f;
    private List<PowerUpType> itemsToRemove;

    public PlayerState CurrentState
    {
        // I chose to be explicit, but we could also have done:
        // get; private set;
        // read more: https://stackoverflow.com/questions/3847832/understanding-private-setters
        get { return _currentState; }
        private set { _currentState = value; }
    }

    private PlayerState _currentState;

    void Start ()
	{
	    if (Instance != null)
	    {
	        // If Instance already exists, we should get rid of this game object
	        // and use the original game object that set Instance
	        Destroy(gameObject);
	        return;
	    }

	    // If Instance doesn't exist, we initialize the Player Manager
	    Init();
	}

    void Update()
    {
        foreach (KeyValuePair<PowerUpType, PowerUp> entry in powerUpDictionary)
        {
            entry.Value.Duration -= Time.deltaTime;

            // We can't remove an item from a dictionary if we're iterating through it.
            // Instead we have to keep track of it in a list and then remove the items from the
            // dictionary later.
            if (entry.Value.Duration <= 0)
            {
                itemsToRemove.Add(entry.Key);
            }
        }

        // Go through all of the power-ups that need to be removed and remove it from the
        // dictionary.
        foreach (PowerUpType powerUpType in itemsToRemove)
        {
            switch (powerUpType)
            {
                case PowerUpType.Magnet:
                    Transform magnetCollider = Player.transform.Find("Magnet Collider(Clone)");
                    print(magnetCollider);
                    Destroy(magnetCollider.gameObject);
                    magnetCollider = null;
                    break;

            }
            powerUpDictionary.Remove(powerUpType);
        }

        // We've removed everything, let's clear our list.
        itemsToRemove.Clear();

        // If we no longer have any power-ups active, let's stop playing our background music
        if (powerUpDictionary.Count == 0)
        {
            Player.GetComponent<SoundManager>().StopBackgroundClip();
            Player.GetComponent<PlaneCollider>().StopParticleEffect();
            CameraManager.Instance.RemovePostProcessing(); // if we didn't have any,
                                                           // nothing will change
        }
    }

    private void Init()
    {
        Instance = this;
        CurrentState = PlayerState.Alive;

        // Create an empty dictionary and list, otherwise they'll be null later when we
        // try to access them and crash.
        powerUpDictionary = new Dictionary<PowerUpType, PowerUp>();
        itemsToRemove = new List<PowerUpType>();
    }

    /// <summary>
    /// Sets the PlayerManager to be in the game over state.
    /// </summary>


    public void GameOver()
    {
        CurrentState = PlayerState.Dead;
    }

    public void AddPowerUp(PowerUpType powerUpType)
    {
        switch (powerUpType)
        {
            case PowerUpType.Magnet:
                // if we already have the MagnetCollider, don't add it again.
                if (powerUpDictionary.ContainsKey(powerUpType))
                {
                    break;
                }
                // We add the Magnet Collider to our player.
                Instantiate(MagnetCollider, Player.transform.position,
                            Quaternion.identity, Player.transform);
                break;
        }
        // An interesting part of this is that if we get another power up that if we
        // get a duplicate power up, we will replace it with the new one.
        powerUpDictionary[powerUpType] = new PowerUp(powerUpDuration);
    }

    /// <summary>
    /// See if the player currently have the power up that we pass in.
    /// </summary>


    public bool ContainsPowerUp(PowerUpType powerUpType)
    {
        return powerUpDictionary.ContainsKey(powerUpType);
    }
}
End of Day 96
I hope while following the tutorial, you have learned a bit about how to use post processing effects and maybe dived a bit more into seeing how we can use it. There’s a lot of power available to us with the post processing effect that will help make a great looking game and we didn’t even touch any of it.
Speaking of which, here are the results for today:
Without post processing effects:

With post processing effects:

Unfortunately, the only real difference that we can see is the rotor of our plane, but you know what? I’ll take it!
Now with that, we are finally done with our power-up series! We have created 3 power-ups: magnet, multiplier, and invincible, we’ve come a long way!
With that being said, we have 4 more “days” left until the big 100 and there’s so much more left to be done! We’re probably not going to go through everything I want, but I think we can still fit in a lot of interesting game development content in our last 4 posts.
In the next series, we’re going to start keeping track of our coins and create a store where we can purchase upgrades. It’s going to be exciting, so stay tuned!