Table of Contents
Many of you might have been developing applications in NET Core 2.0 version, as that was the main release with lots of features. But did you know that the next big release has already happened with some additional features in the .NET Core journey? Have you already migrated your applications to .NET Core 2.1.x version already? If you haven’t, no worries, here in this post, we are going to talk about how we can migrate/update our applications to the new version of .NET Core. I hope you will like this article.
As I said, this post is only going to cover the steps you may have to take to update your existing .NET Core application to 2.1.x. And I will not be talking about what is .NET Core? And why .NET Core is important? etc., if you have those queries in your mind, I strongly recommend you read the Microsoft document here.
We will be creating a .NET Core 2.0 application first, and then we will update the same to 2.1.x version. Sounds good?
As usual, open your favorite IDE, Visual Studio 2017, click on File -> New Project.
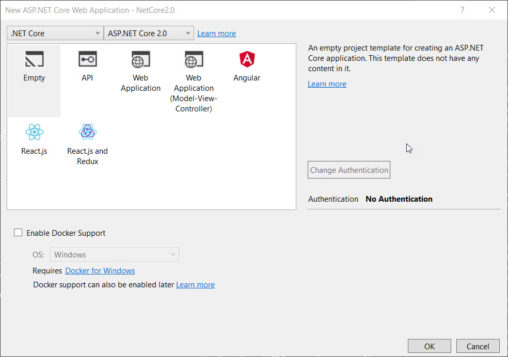
As you can see, ASP NET Core version is 2.0.
You can even check the version in your application properties.

Now let’s run our application and see the output:
As a first step, to work with .NET Core 2.1, you need to update your IDE. There are a couple of ways you can update your IDE, but the easiest way is to go check the Notifications panel. Let’s see how to do that.
Go to the View tab and click on Notifications:
Now you can see all the notifications here as shown in the below image. I always update my Visual Studio whenever there is an update, so you won’t be able to see that notification here on my panel. If you haven’t updated, and if you check the Notifications panel, I am sure you will get a link to the update here. You will be able to do further.
Once you have updated, you can verify your version.
Here, I am going to download the latest version from here, however, you can select which version you want from here.
As you can see that we have installed .NET Core SDK, .NET Core Runtime, ASP NET Core Runtime, and now you can see that the new version is available for you in Visual Studio 2017.
As the first step, we need to change the Target framework for our application. Here, you can select it in the Properties or you can edit the dot(.)csproj file.
Now it is time to change the Microsoft.AspNetCore.All to Microsoft.AspNetCore.App, as with this version, Microsoft have reduced the number of dependencies. We always need to install only the needed things right, instead of everything.
You will always need to change all of your references to the new version. Here, I just wanted to show how you can do that. So, look into the packages you have in your application and change it accordingly.
The Dot NET Core 2.1.x is a release with some cool new features, I strongly recommend you read those here.
I may write a new post with these features soon.
Thanks a lot for reading! Did I miss anything that you think is needed? Could you find this post useful? I hope you liked this article. Please share your valuable suggestions and feedback.
A blog isn’t a blog without comments, but do try to stay on topic. If you have a question unrelated to this post, you’re better off posting it on C# Corner, Code Project, Stack Overflow, ASP.NET Forum instead of commenting here. Please leave your question in the Comments section below and I’ll definitely try to help if I can.


 General
  News
News  Suggestion
  Question
  Bug
Bug  Answer
  Joke
Joke  Praise
  Rant
Rant  Admin
Admin 


