Introduction
In this article, we will learn all about partial views, which will include where to use it, how to user it and different approaches to use it.
What is Partial View:
Partial View is a special kind of view used in MVC Framework, It is a part of the full view and that is why it is called as Partial.
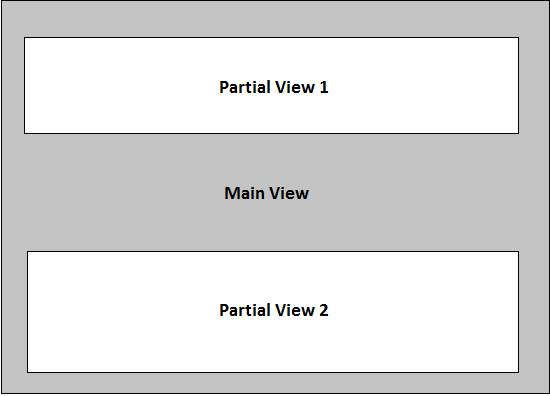
(Image to describe partial view)
In the above image, the gray area section is the main view area where we are using two partial views(Partial View 1 & Partial View 2).
Advantages of Partial View
-
It is reusable. For Example, you can use same partial view in header and footer section of your master page, if the model is same in those section.
-
Easy to handle/modify. Partial view make the application maintenance easier if in case you need any change in the structure, in that case we don’t need to change the entire page structure rather we can simple change on that particular Partial view where we need the changes.
Let's Create Our First Partial View
Select any view folder and then right click → Add → View → then the below dialog box will appear, name your view as _StudentDetails (Generally the partial view is starts with underscore to identify that it is a partial view and can be reused) and select the check box 'Create as partial view' and then click on 'Add' button. It will create the specified partial view.

Now add a class in your Models folder. In our example we are creating a Student.cs file like this,
public class Student
{
public string Name { get; set; }
public int Age { get; set; }
public string Address { get; set; }
public string PhoneNumber { get; set; }
}
Now create an action in your controller which will call this partial view, the name can be same or can be different, in our case we are using the same name for simplicity,
Now, let add some details on that partial view, the class we have created can be supplied here,
Now, lets design our Partial view page and show the details there,
Calling/Using of Partial View:-
If in your current view you have the model values which will be displayed/used in the partial view, then you can directly call the view like this.
@Html.Partial("_StudentDetails", Model)
Or
@Html.RenderPartial("_StudentDetails", Model)
If you do not have the model values, then you need to call the action associated with the partial view and it will return the partial view,
@{
       Html.RenderAction("_StudentDetails");
 }
These are the simple steps to create and use partial view which will give us better re-usability, and maintenance of code.
History
Last Update: 29th Oct, 2014
This member has not yet provided a Biography. Assume it's interesting and varied, and probably something to do with programming.


 General
  News
News  Suggestion
  Question
  Bug
Bug  Answer
  Joke
Joke  Praise
  Rant
Rant  Admin
Admin 


